

Setting up Recurring Campaigns:
Go to Marketing > Drip Campaigns > Recurring Campaigns
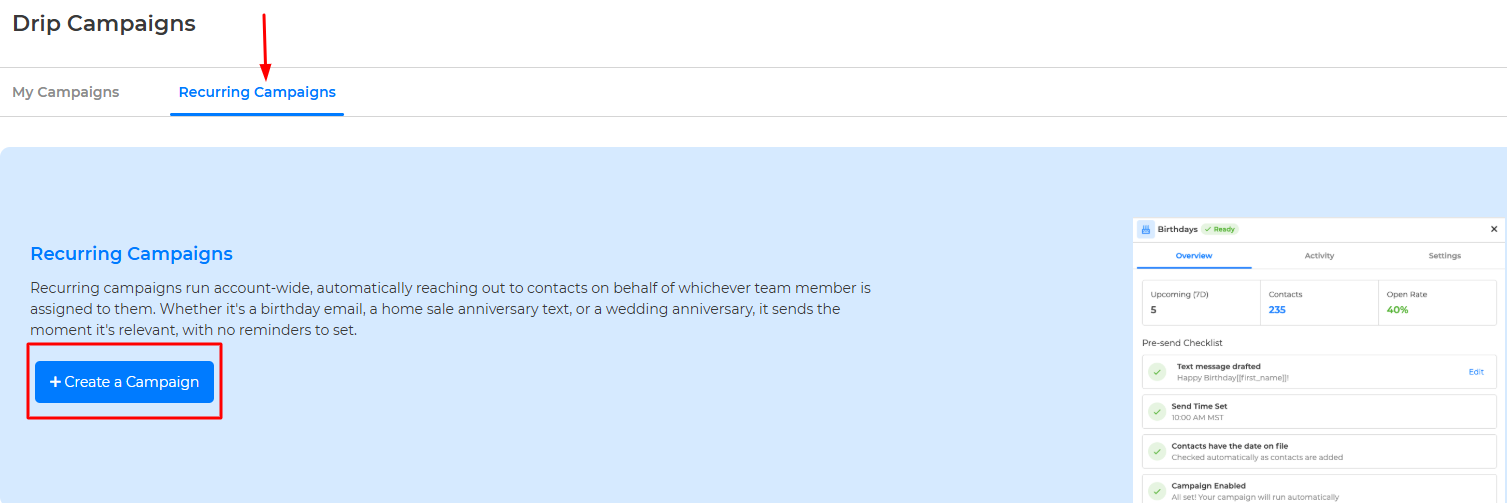
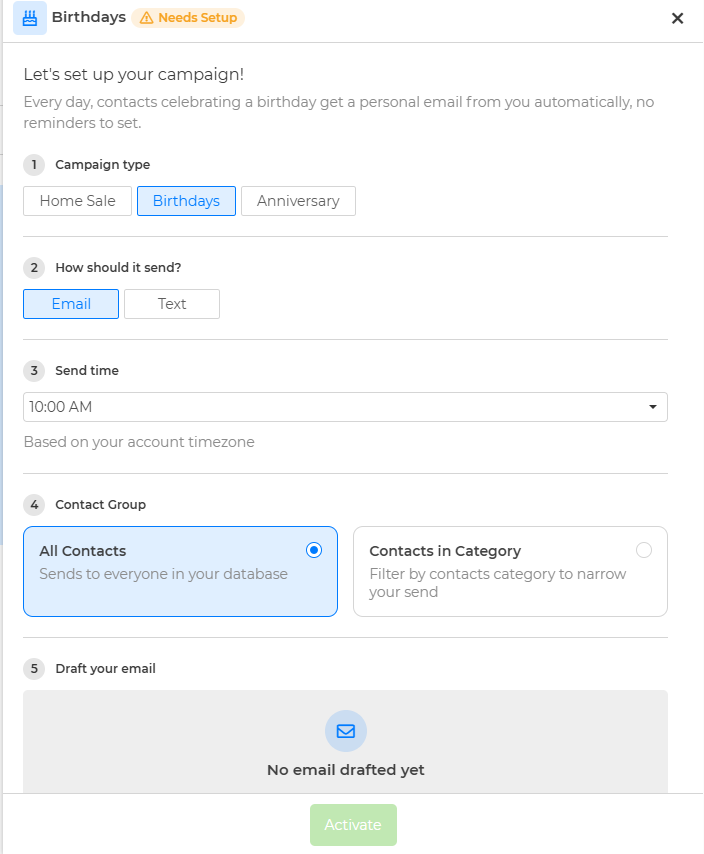
Choose your Campaign Type: Home Sale, Birthdays, or Anniversary
How should it send? Email or Text
Send Time (Based on your account time zone): 5:00 AM to 10:00 PM.
NOTE: The campaign is added to a queue and will send within 2 hours of the time selected!Contact Group: All Contacts: sends to everyone in your database with dates added.
Contacts in Category: Filter by contact category to pick a specific group of people.Draft your Email or Text by clicking "Draft Email" or "Draft Text." If you select email, this will open our drag-and-drop editor. If you select text, this will open our text editor.
Email Campaign:
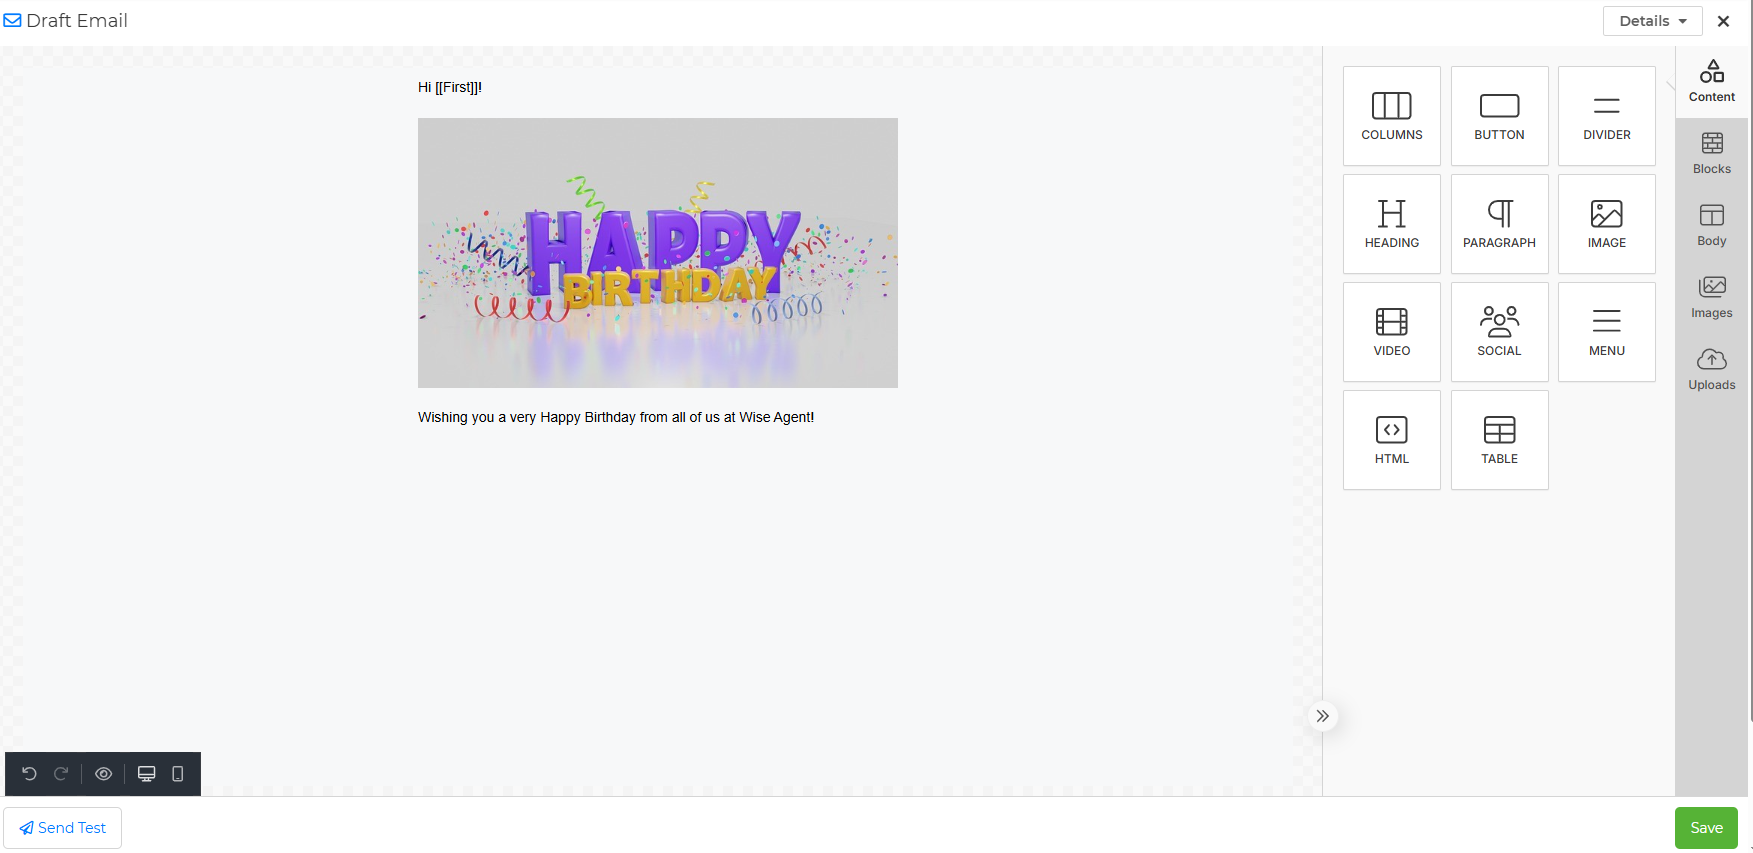
First, you can add your email subject & choose your email signature. (If a team member is assigned to this contact, it'll default to their email signature.)

Next, click icons and drag and drop them to the center of the editor to create your email campaign. Then click "Save." & Lastly, click "Activate."
Need help using the editor? Visit this article and read steps 2-5.
Texting Campaign:
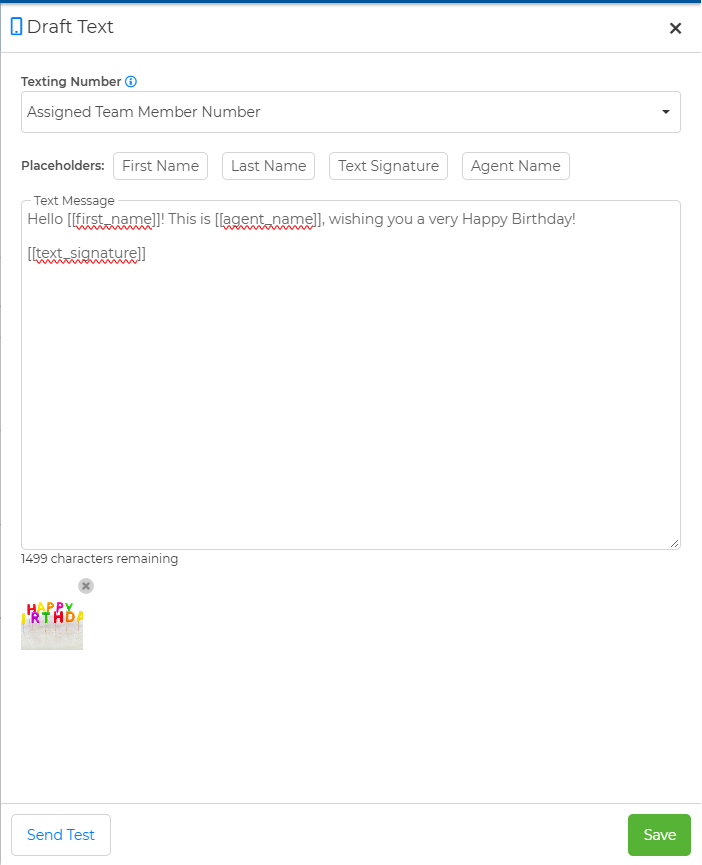
First, select your Texting Number. (If a team member is assigned to this contact, it will default to their texting number)
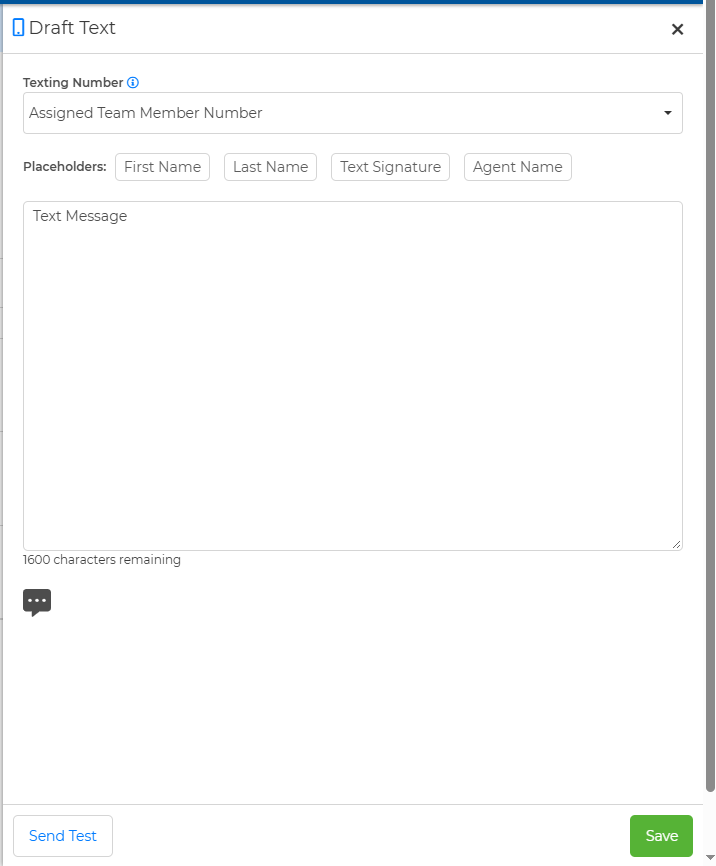
Next, type your text message. You can use placeholders for First Name, Last Name, Text Signature, & Agent Name. You can also add Text Media by pressing the three dots at the bottom of the message. Then click "Save" & "Activate."
Overview, Activity, & Settings:
Overview:
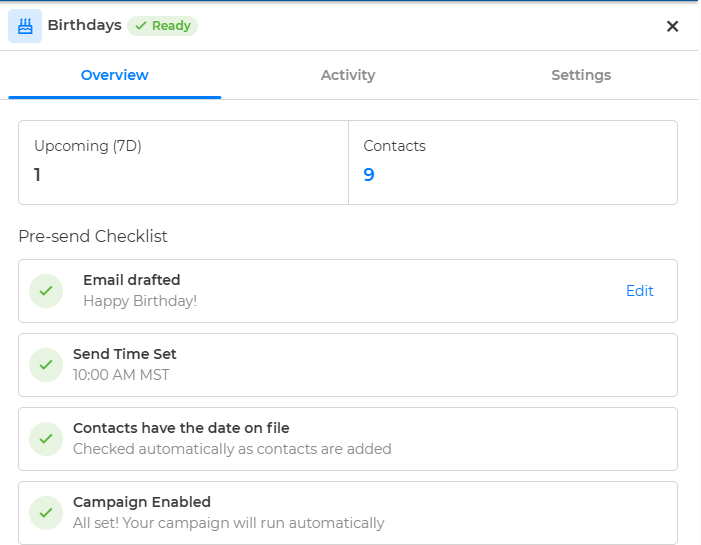
This will show upcoming messages in the next 7 days and how many contacts are on the campaign.
Pre-send Checklist: You can edit the email campaign, view the send time, show that contacts are selected, and if your campaign is enabled.
Activity:
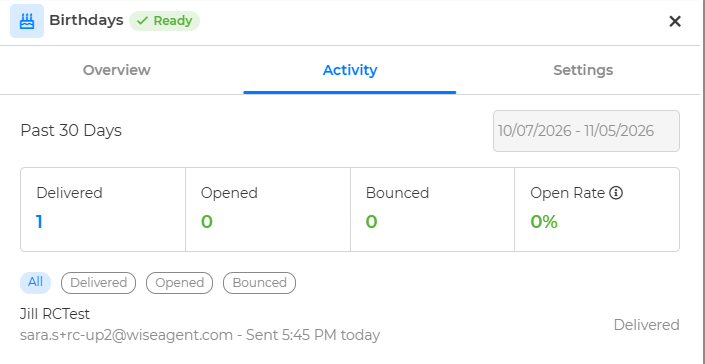
The Activity will show the statistics of the messages sent. Delivered, Opened, Bounced, and Open Rate. (Open rates can be inflated by email clients that pre-fetch messages, like Apple Mail.)
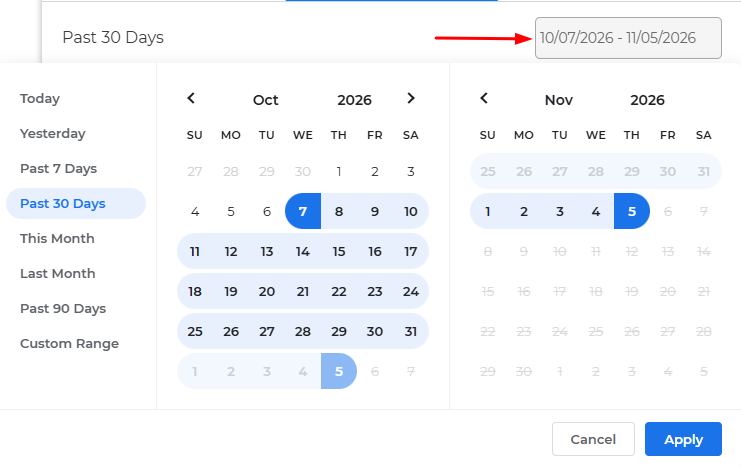
You can also change the date by clicking the dates at the top right from the Past 30 Days to Today, Yesterday, Past 7 Days, This Month, Last Month, Past 90 Days or Custom Range.
Settings:
Make any changes to your campaign. Send Type, Schedule, Contact Group, Disable Campaign or Delete Campaign.
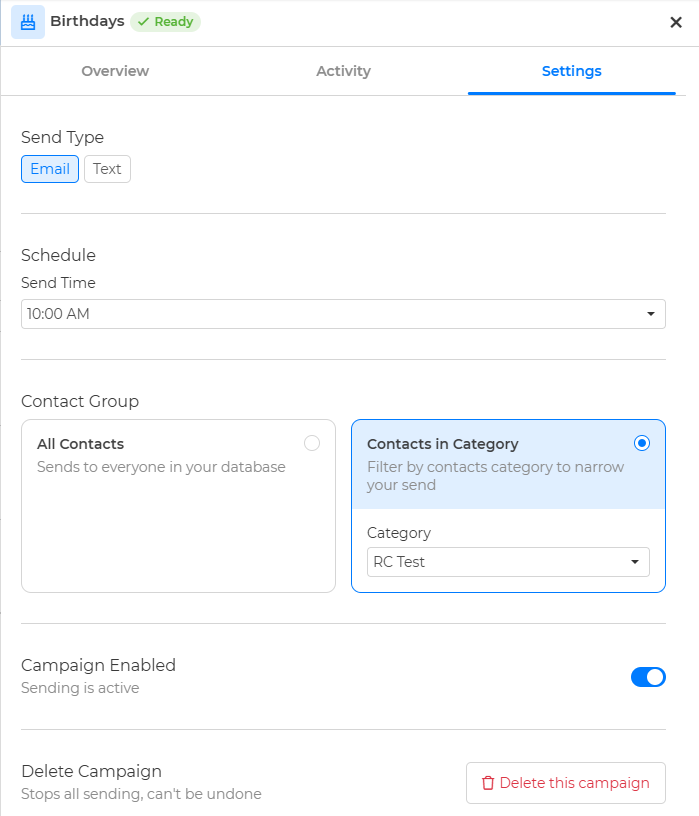
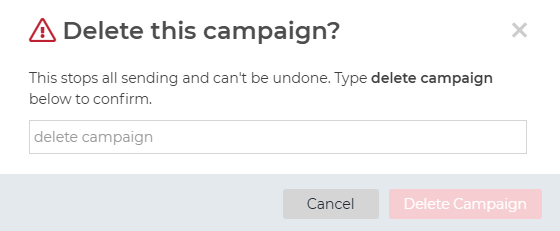
Note: If you click "Delete this campaign," you will need to type "delete campaign" to confirm.
Recurring Campaigns:
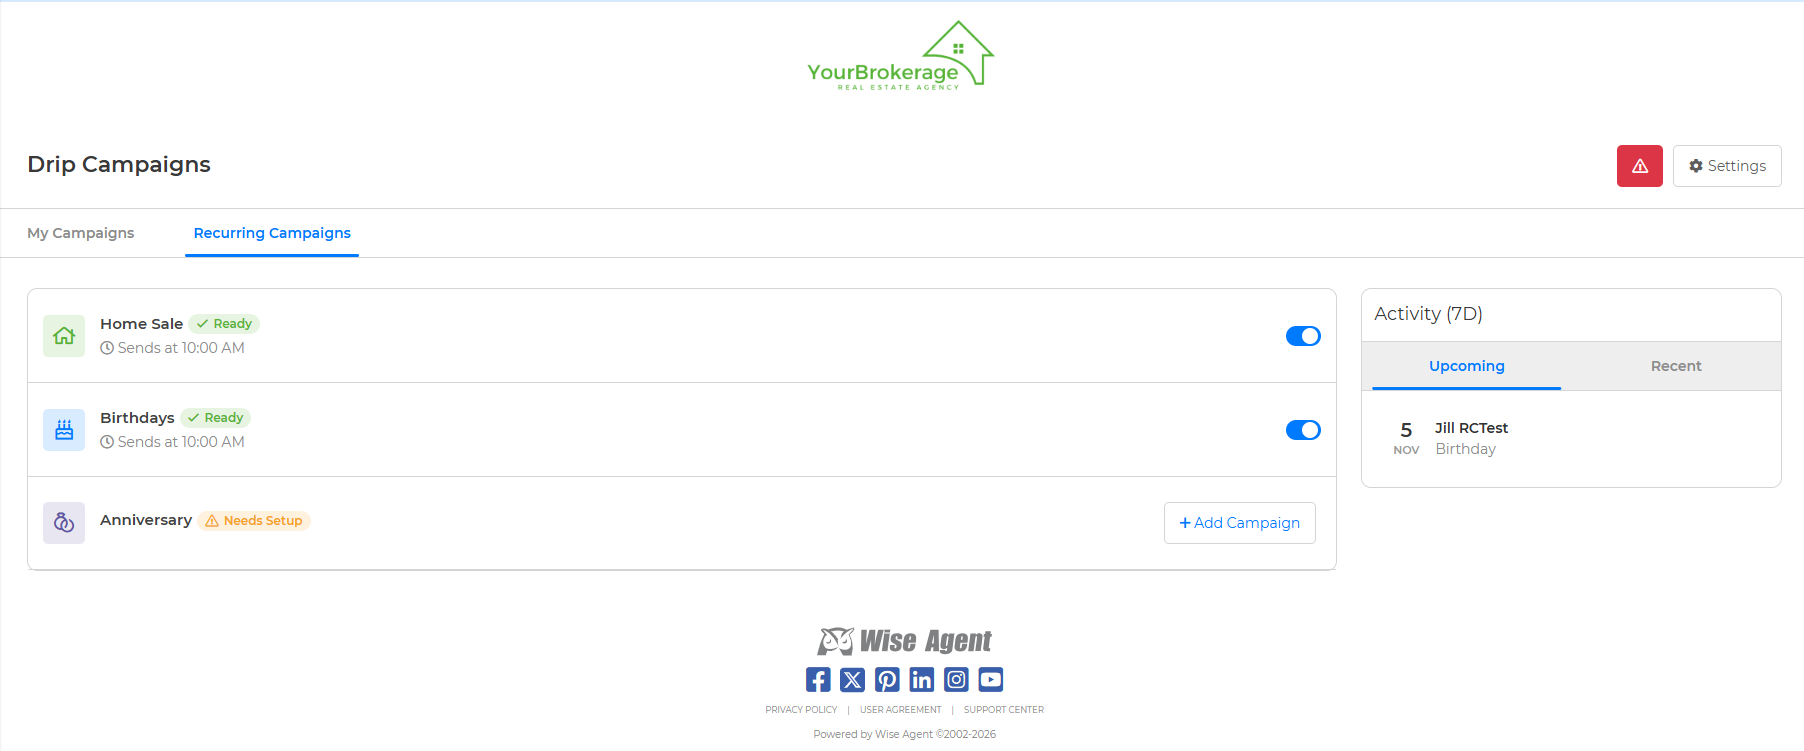
On this page, you can toggle on or off to enable/disable the campaign. Click any campaigns to open the Overview, Activity, Settings tab. Click "+ Add Campaign" to create another one.