Let's do it together!
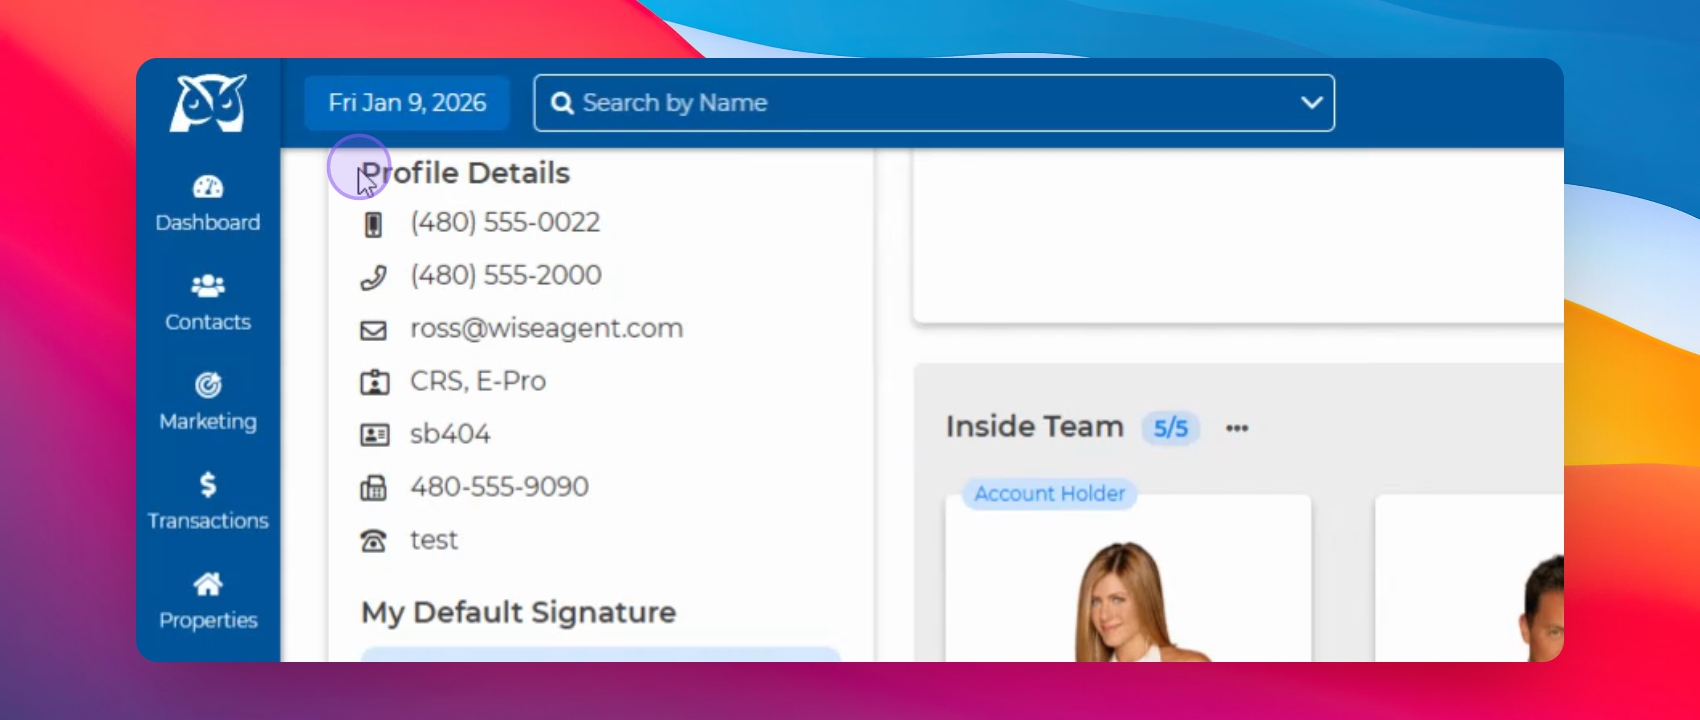
Step 1: Add Profile Details
Ensure all your profile details are filled in Wise Agent. Your email signature will reference this information.
Step 2: Access Email Signature
Click the gear icon and select Email Signature.

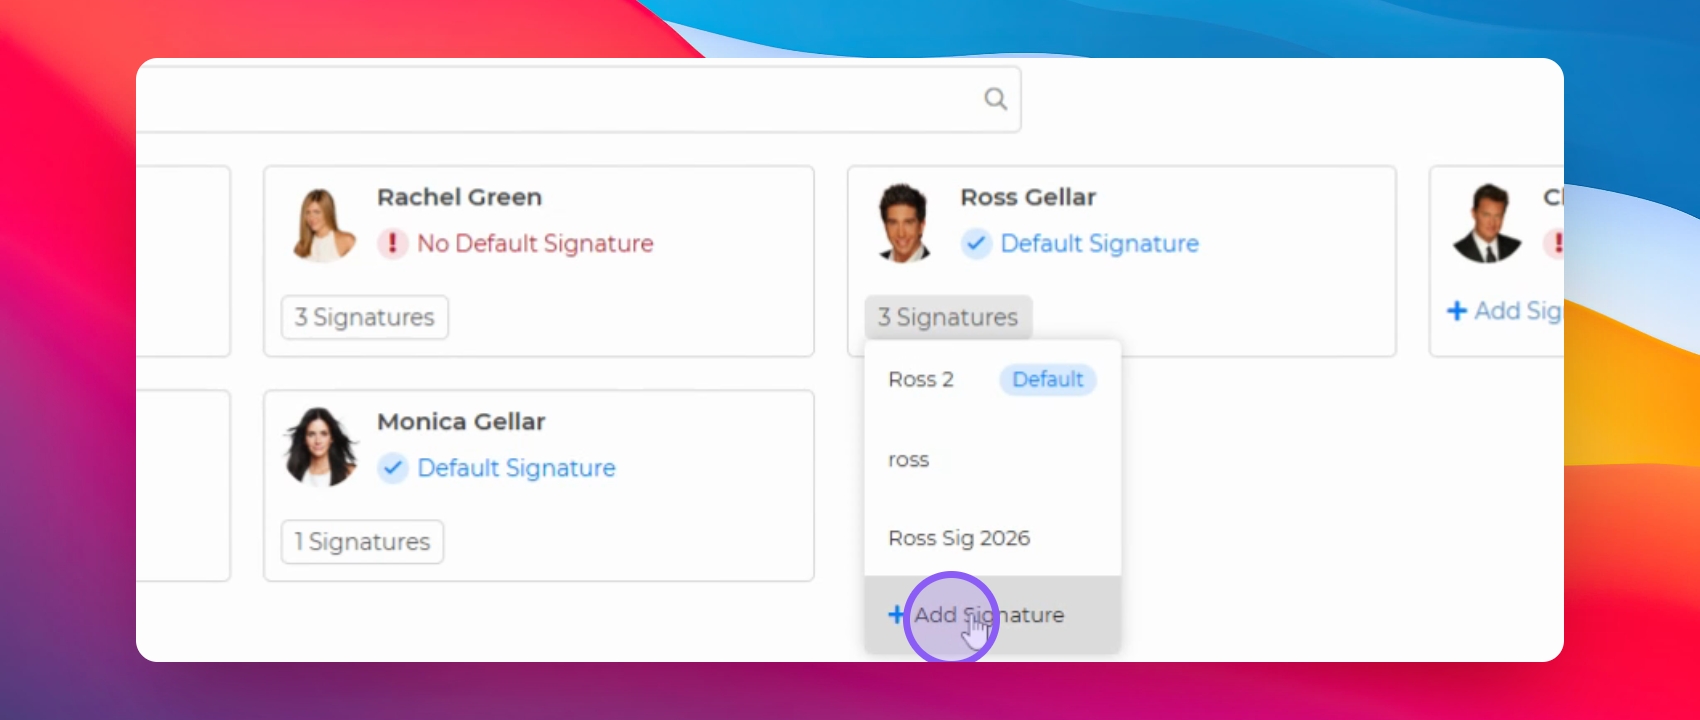
Step 3: Select Team Member
Find the team member's name for whom you need the signature.
Step 4: Add Signature
Click on Add Signature to create a new signature.
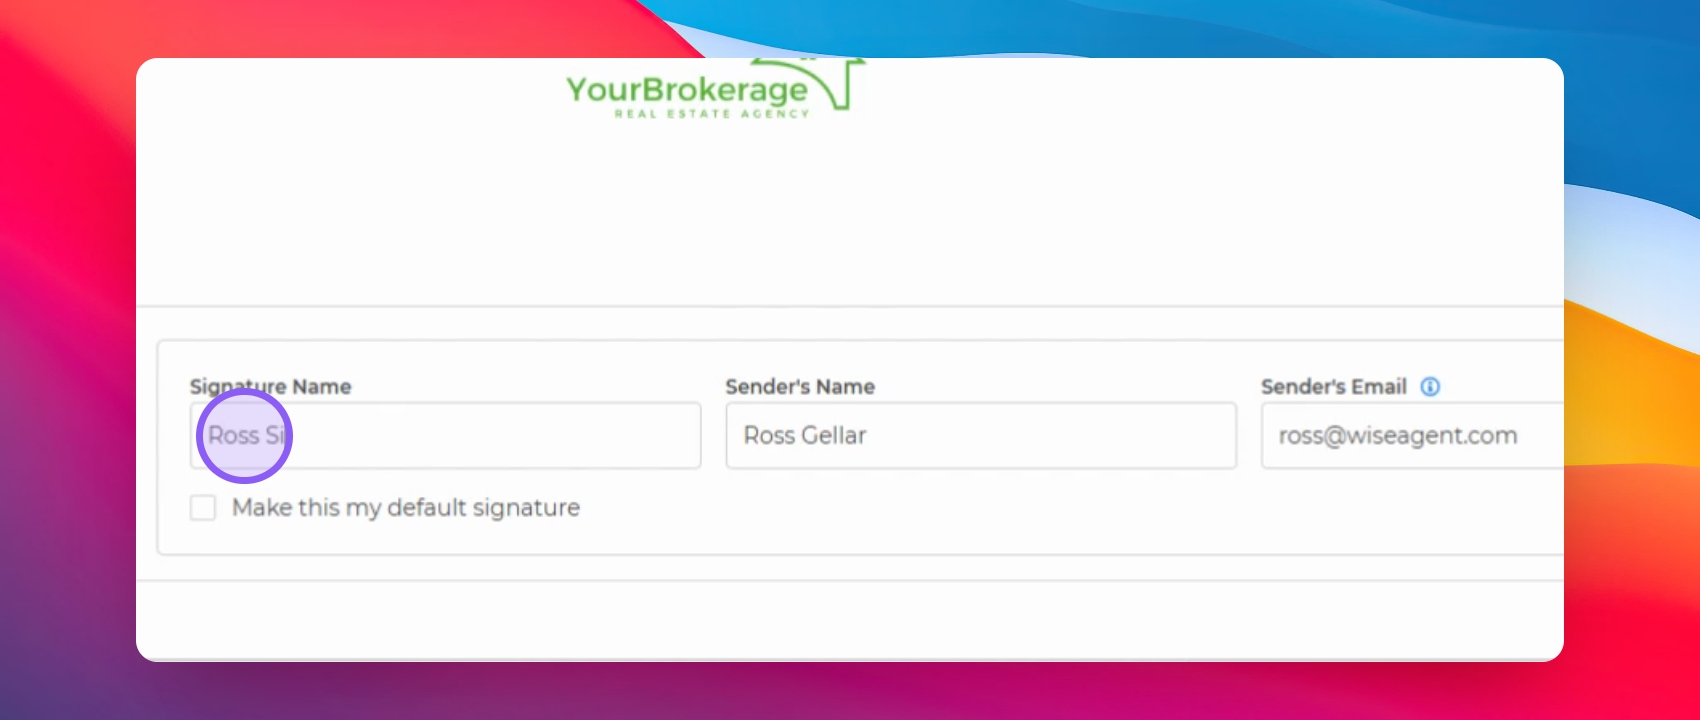
Step 5: Name Your Signature
Enter a name for your signature.
Step 6: Choose a Template
Click the template link on the right side and select a template.
Step 7: Customize Your Signature
Edit the signature to match your preferences.
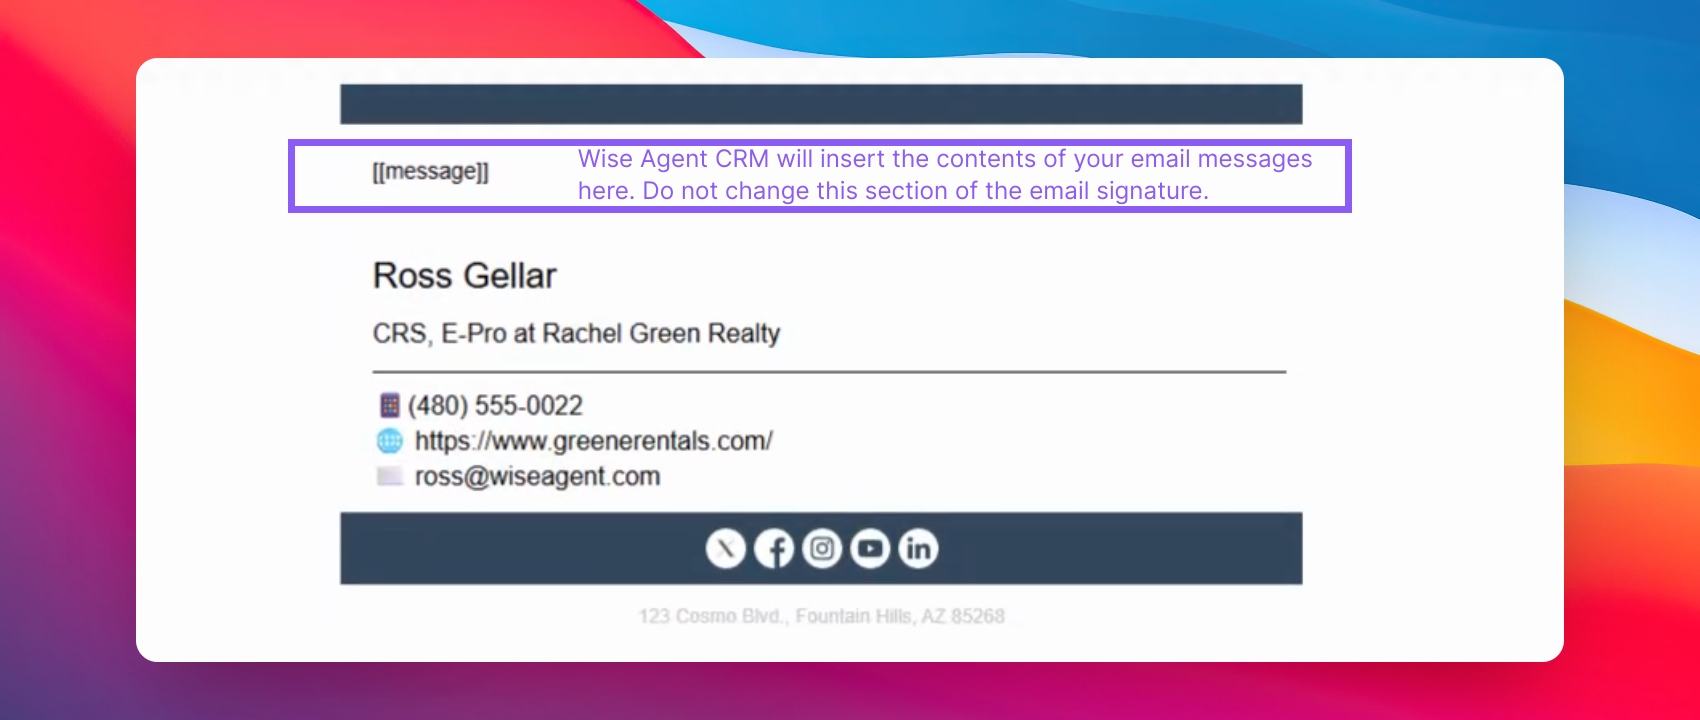
IMPORTANT NOTE: Do not change the block of text [[message]] this is a placeholder indicating where your email content will be inserted into outgoing messages.
Step 8: Add Social Media Links
Ensure each social media link points to your specific channel.

Step 9: Save Your Signature
Click Save to finalize your email signature.
Step 10: Signature Created
Your email signature has been successfully created.
Alternatively: Customize Your Email Signature
If none of the email signature templates you see appeal to you, you can create a signature on your own "from scratch", or reach out to our support team at support@wiseagent.com. We can work with you to create a custom email signature.