
Step 1: Obtain Your Wise Agent Lead Capture Email
From the sidebar, select Integrations, then click Settings from the menu.
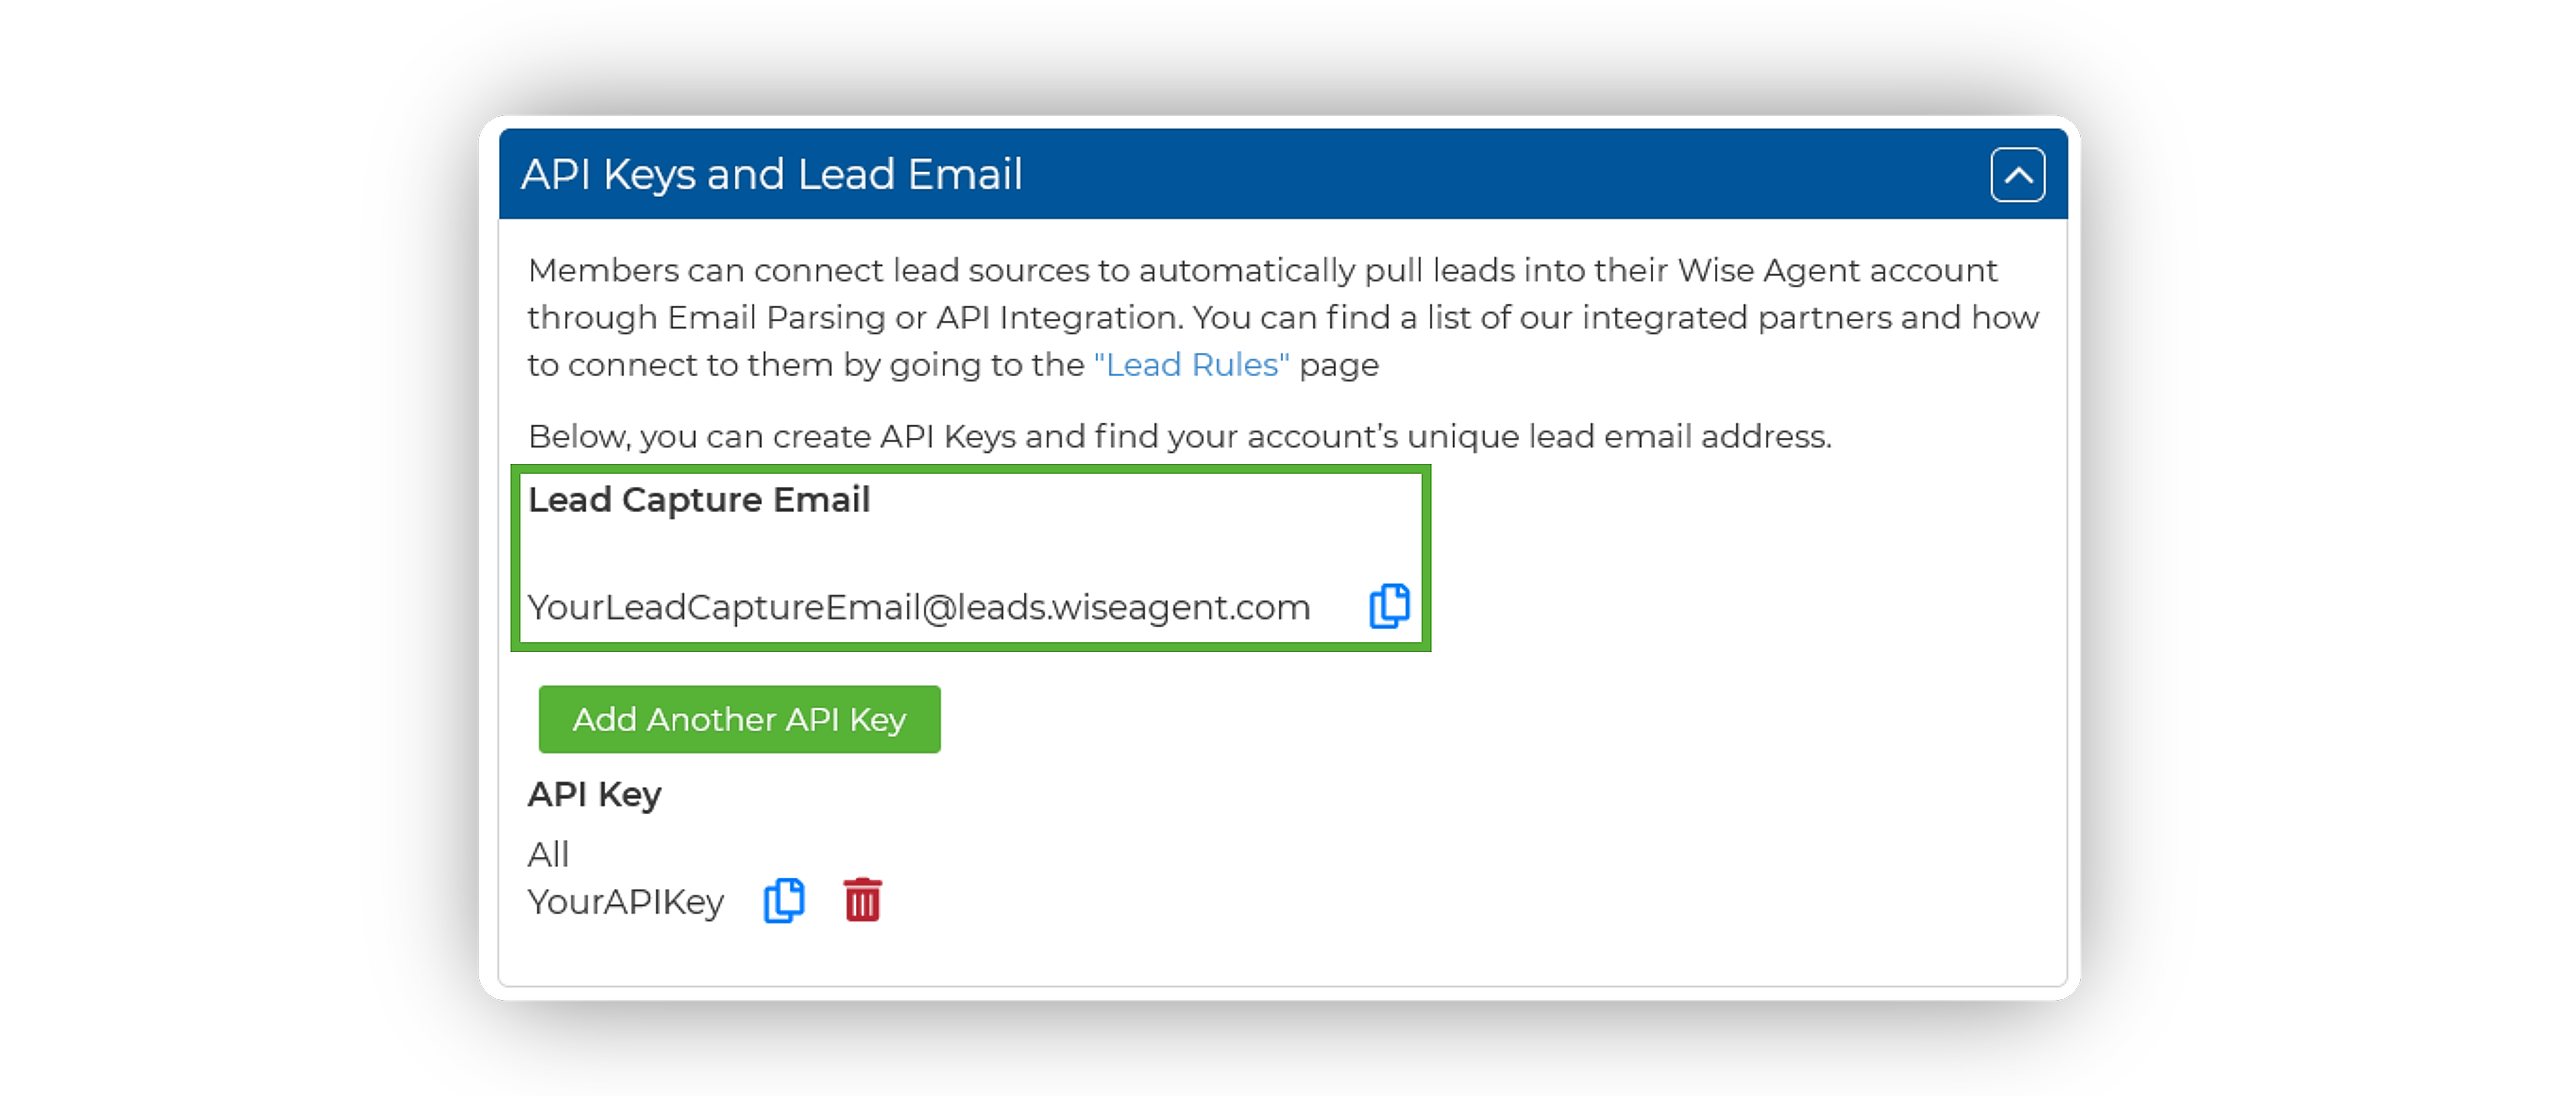
On the Integrations Settings page, locate and click on the API Keys and Lead Email tab and click to expand.
From this section, locate and copy your Lead Capture Email. This email address is specific to your Wise Agent account and is used to capture leads from various sources.
Step 2: Create a New Notification
First, access the form that you want to create a notification for. This is done by clicking on Forms on the left side navigation menu, then clicking on your desired form.
At the top menu, hover over Form Settings and click on Notifications.
You should now see a list of all notifications that exist for that form. By default, there should already be a single notification that sends the submissions to the admin email address within your WordPress installation. The list may be sorted alphabetically by clicking on the “Name” header. To add a new notification, click the Add New button.
First, pick a name for your notification. This is simply something to easily identify the notification. Any unique name will be fine.
Step 3: Enter the Email Settings
You will see a setting labeled Send To. This allows you to determine how the message is sent; Enter your Wise Agent lead capture email here.
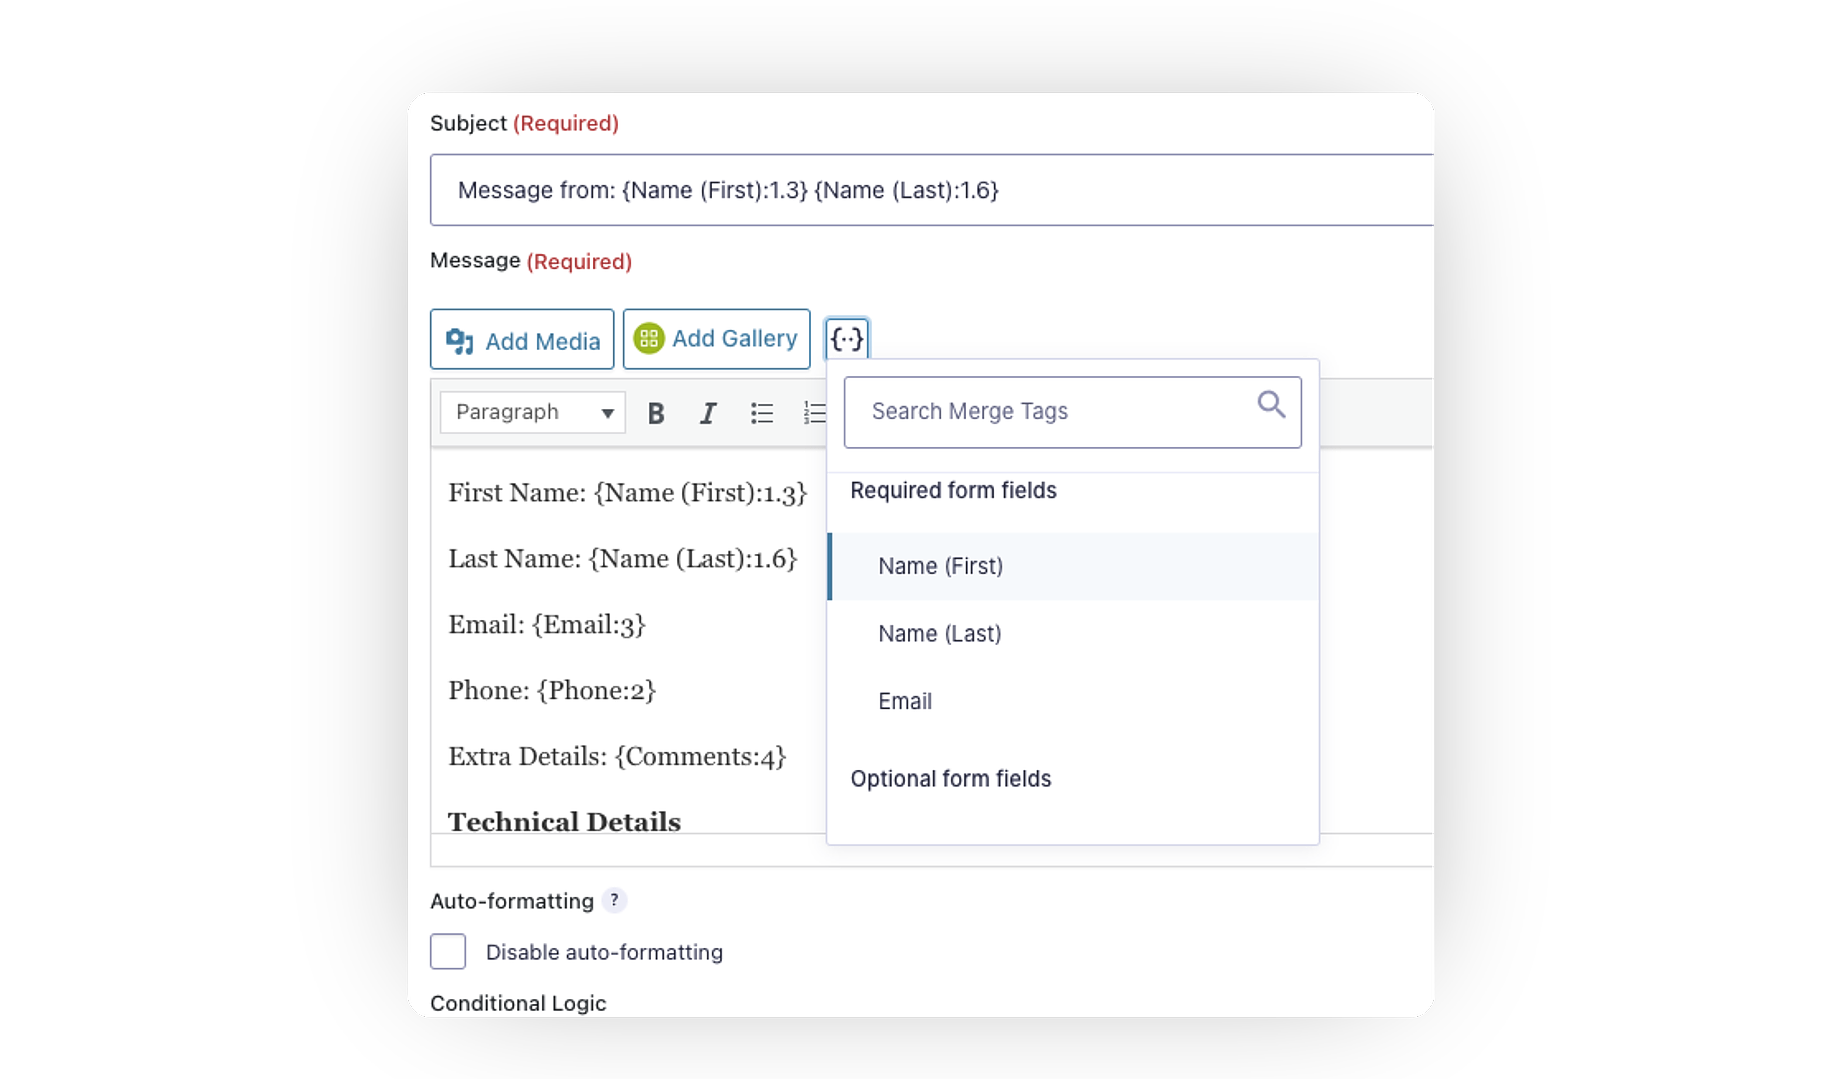
The Message field is the key component of the notification.
To ensure the lead is accurately captured, use the specified format below, followed by the appropriate Merge Tags; For example, First Name: {Name(First)}
Source Name:
First Name:
Last Name:
Company:
Phone Number:
Phone:
Extra Details:
Email Address:
Street Address:
State:
City:
Website:
Submit a test inquiry or lead from your lead source.
Check your Wise Agent contact list to ensure that the lead has successfully entered your Wise Agent account.
If you receive the lead in your external database, but the lead does not enter your Wise Agent account, please forward the email notification to help@wiseagent.com. In your forwarded email, mention that you are trying to set up Email Parsing, in addition to providing the name of the lead source/ platform you are configuring, and our team will assist you in troubleshooting the issue.