Envelopes
Log in to your Wise Agent account.
From the sidebar, select Contacts then Contact List.
Checkmark the clients you want to include in your mailing or click Select All to place check marks in front of each contact's name.
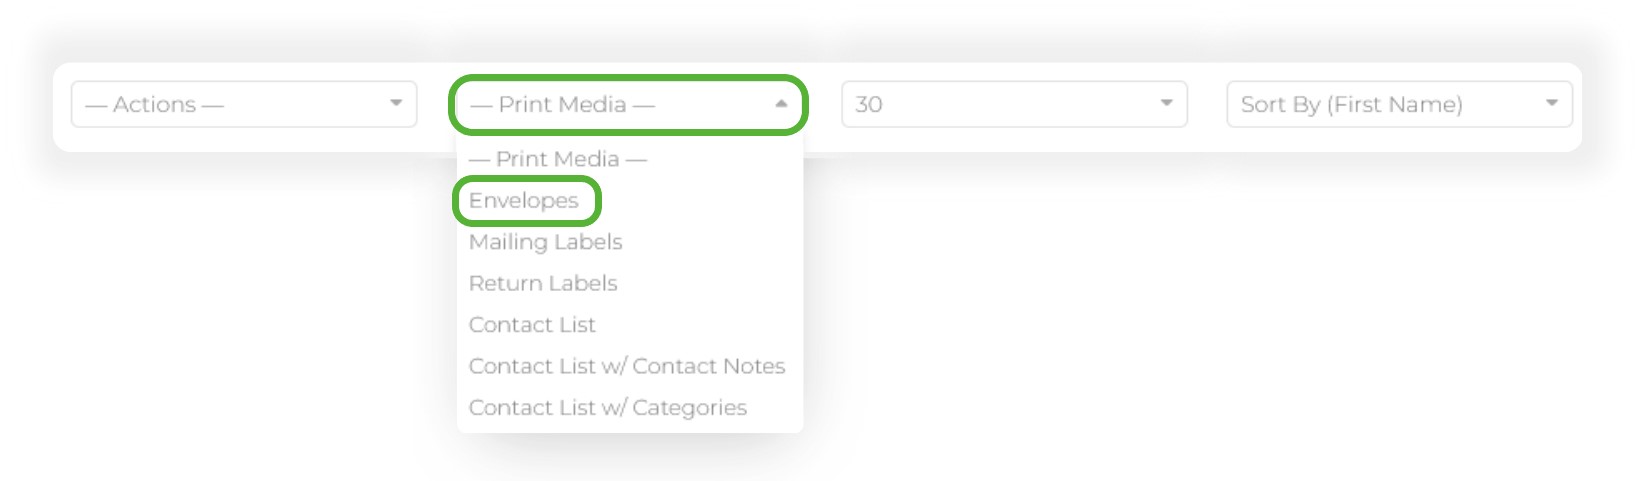
From the Print Media dropdown at the top of your contact list, select Envelopes
Customize the properties of your envelopes, ensuring that the envelope size matches the ones you will be using.
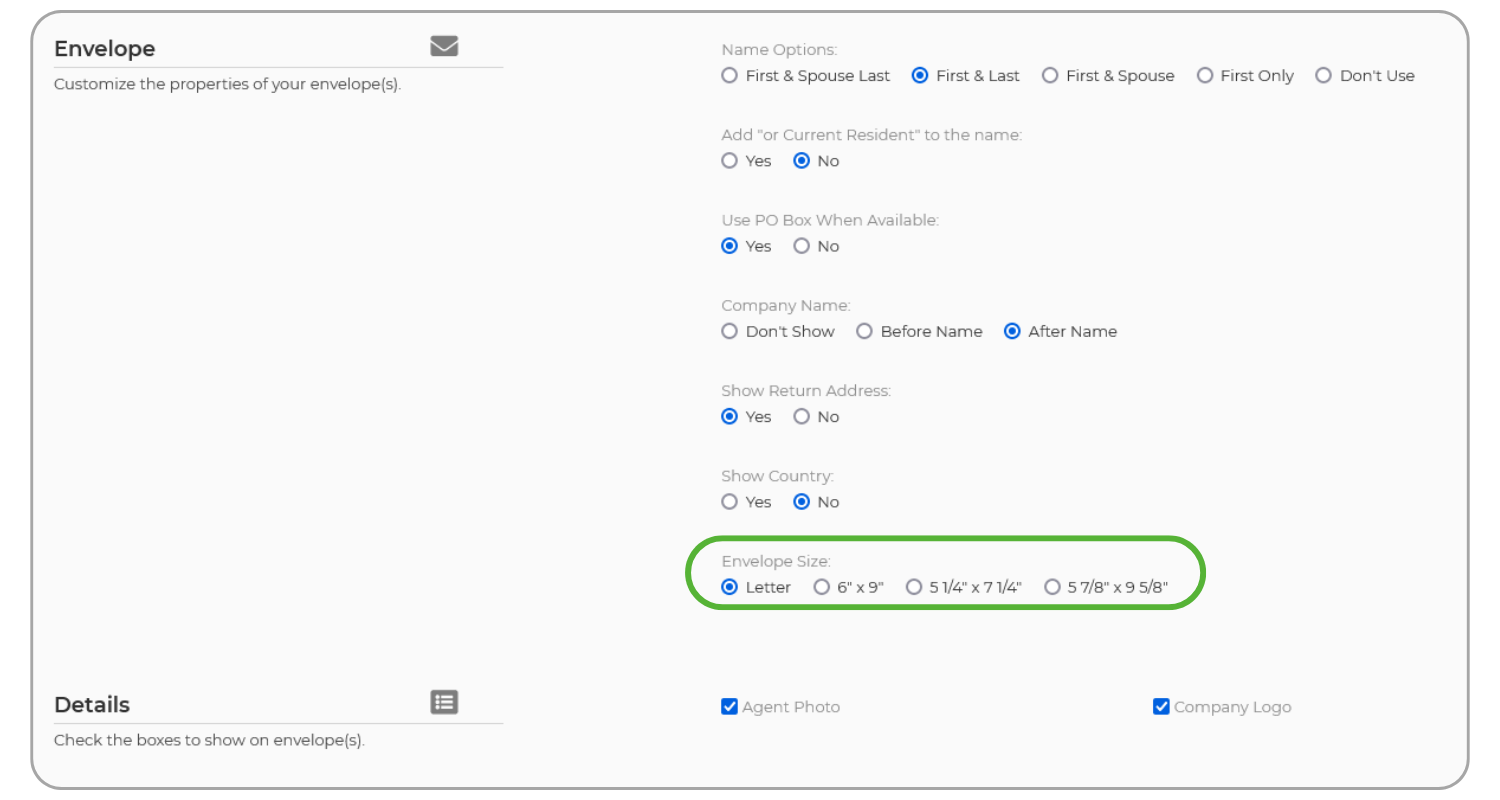
Select the personal details you want to include and display.
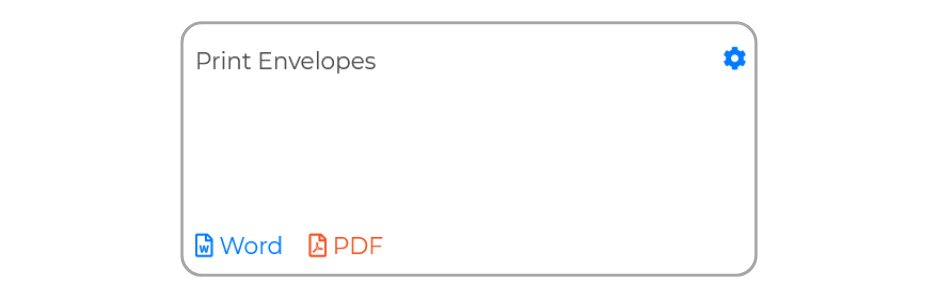
When you're ready to proceed, simply click on either Word or PDF to generate the document for printing on your envelopes!
Mailing Labels
Log in to your Wise Agent account.
From the sidebar, select Contacts then Contact List.
Checkmark the clients you want to include in your mailing or click Select All to place check marks in front of each contact's name.
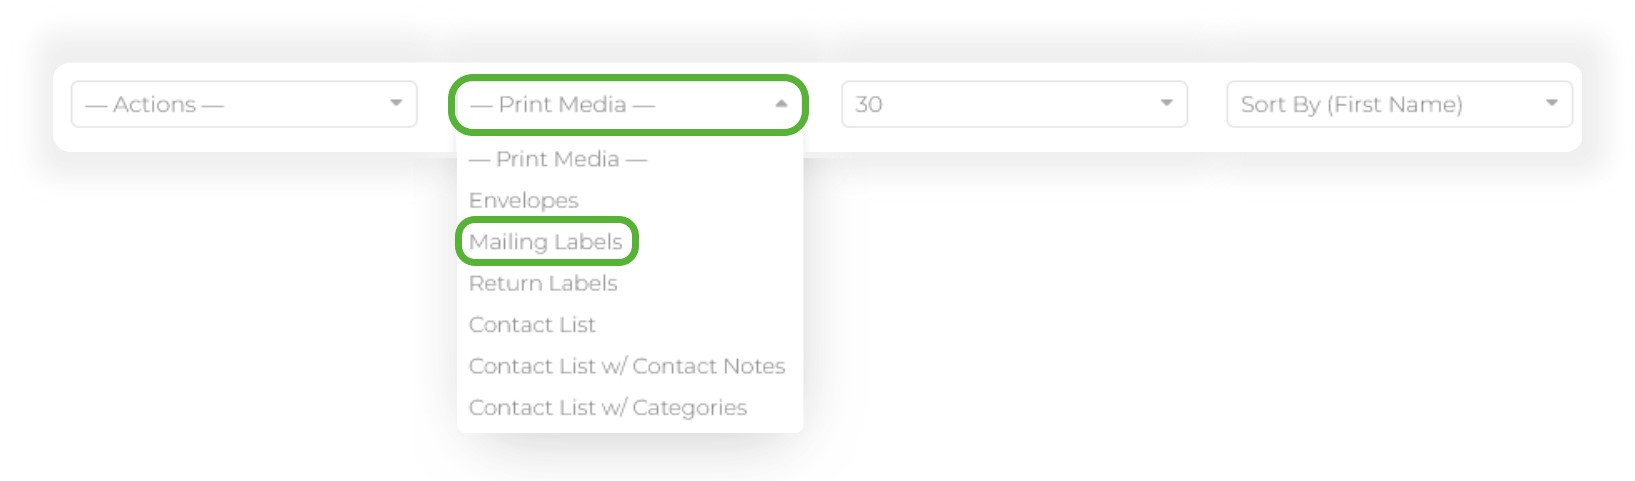
From the Print Media dropdown at the top of your contact list, select Mailing Labels
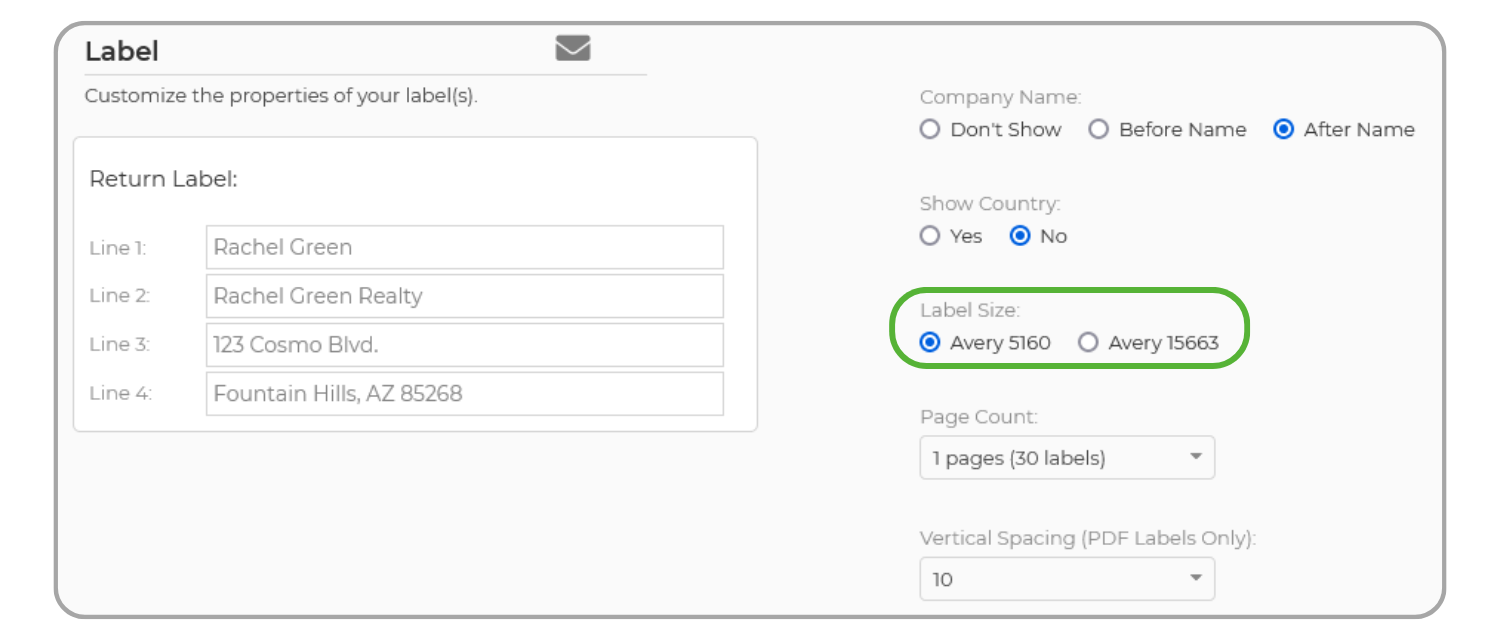
Customize the properties of your labels, ensuring that the Avery Label size matches the ones you will be using.
When you're ready to proceed, simply click on either Word or PDF to generate the document for printing on your envelopes!

Return Labels
Log in to your Wise Agent account.
From the sidebar, select Contacts then Contact List.
Checkmark the clients you want to include in your mailing or click Select All to place check marks in front of each contact's name.
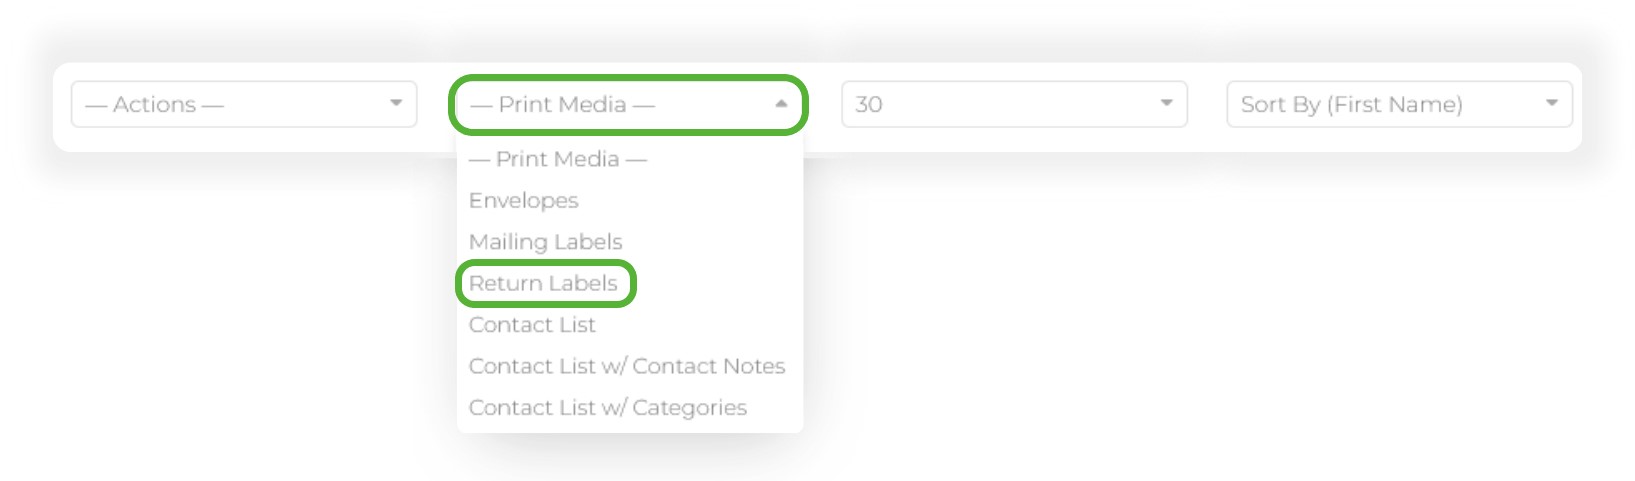
From the Print Media dropdown at the top of your contact list, select Return Labels
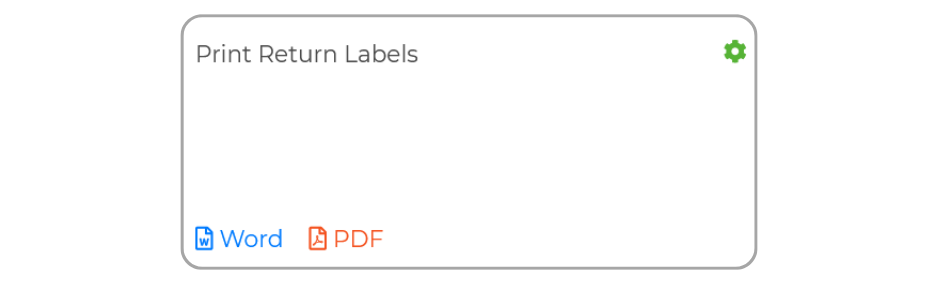
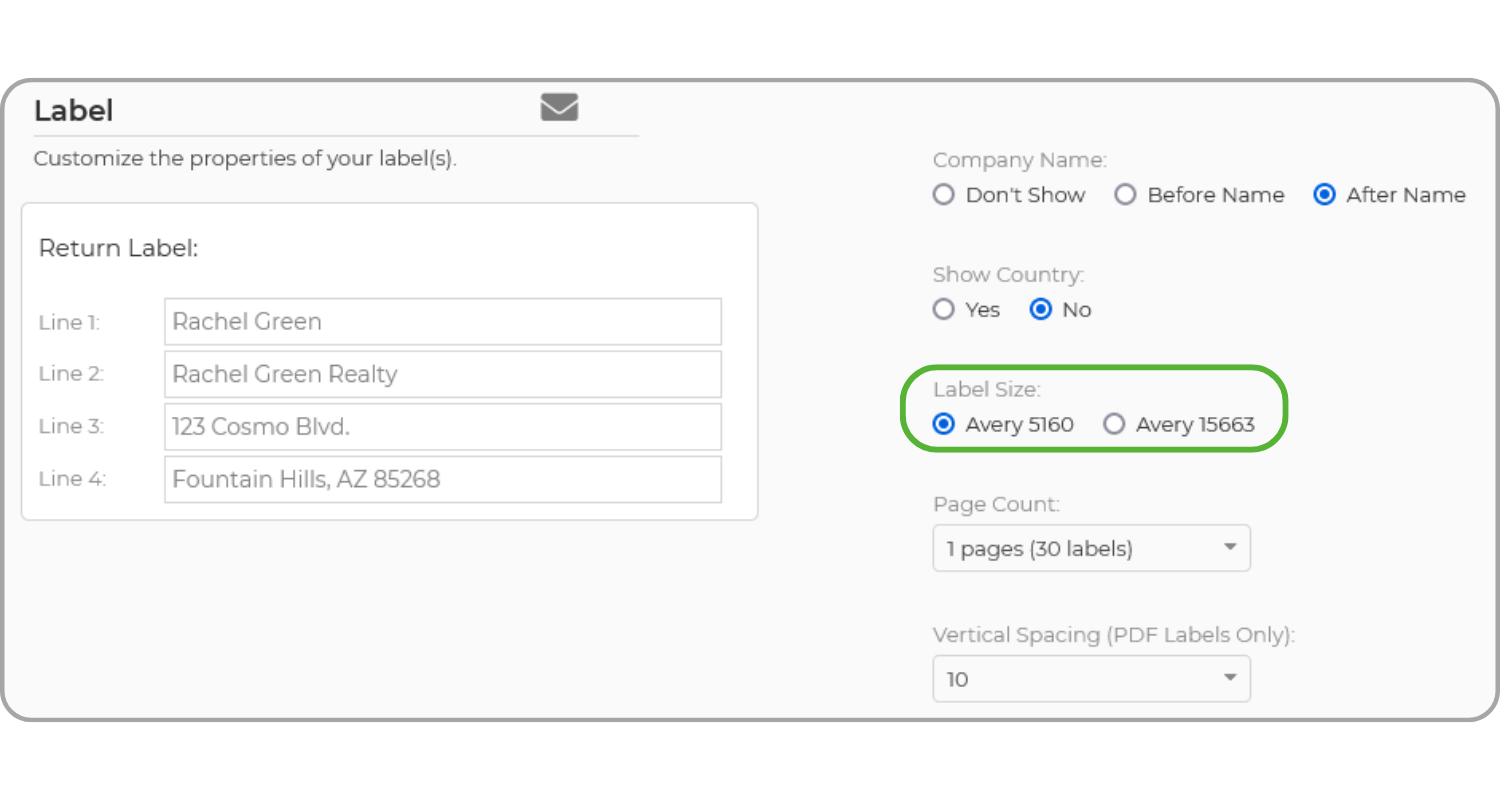
Customize the properties of your return labels, ensuring that the Avery Label size matches the ones you will be using.
When you're ready to proceed, simply click on either Word or PDF to generate the document for printing on your Return Labels!