Step 1: Uploading Your Image
💡 IMPORTANT TO NOTE: Ensure your image is sized correctly prior to uploading. The image should be in jpg format and should not exceed 650-800px in width.
While you can modify the size of the image in Wise Agent, please note that certain email recipient platforms, like Outlook, may revert the image to its original size, often making the image far too large to read in an email.
Login to your Wise Agent account.
Navigate to your image gallery by clicking on Tools from the sidebar, then selecting Images.
Within the image gallery interface, locate and click on the Upload button. Once selected, the Upload Image window should appear.
Drop your files into the designated spot or click to select images from your computer. Once added, click on Upload.
Step 2: Adding Your Image To An Email
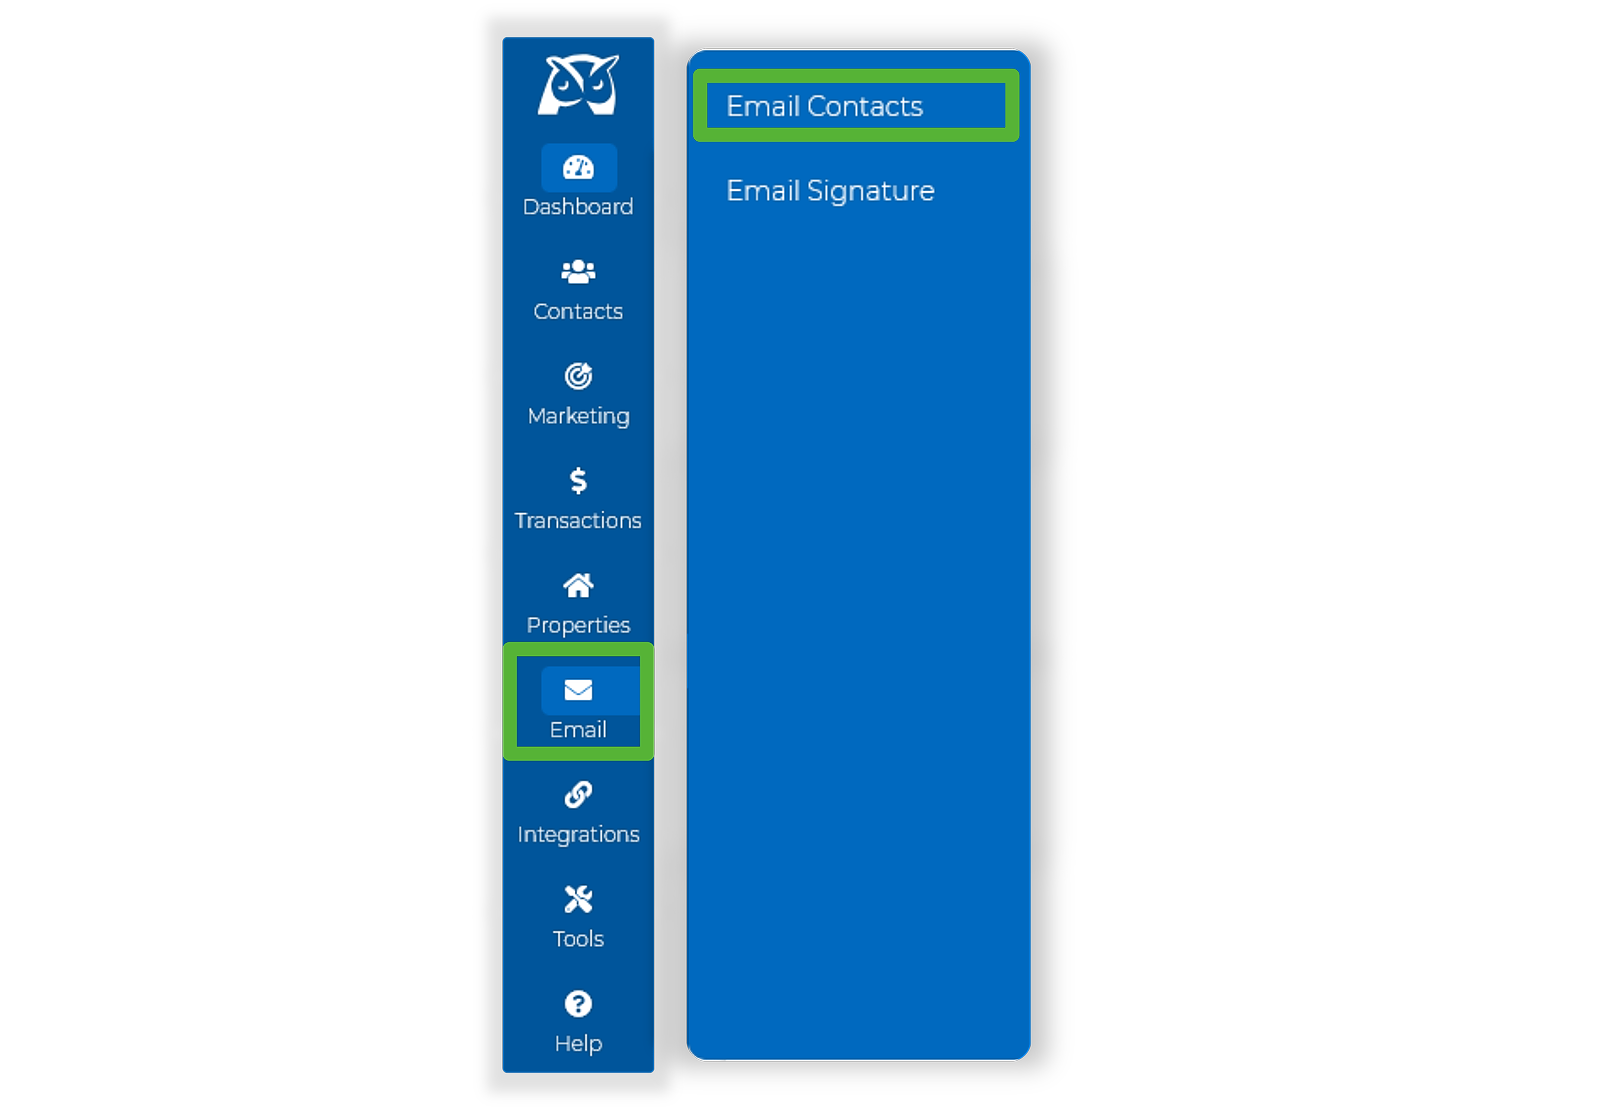
From the sidebar, click on Email ➜ Email Contacts.
On the toolbar above the body of your email, click on the Image icon to insert an image.

Once the window opens, click Browse Server.
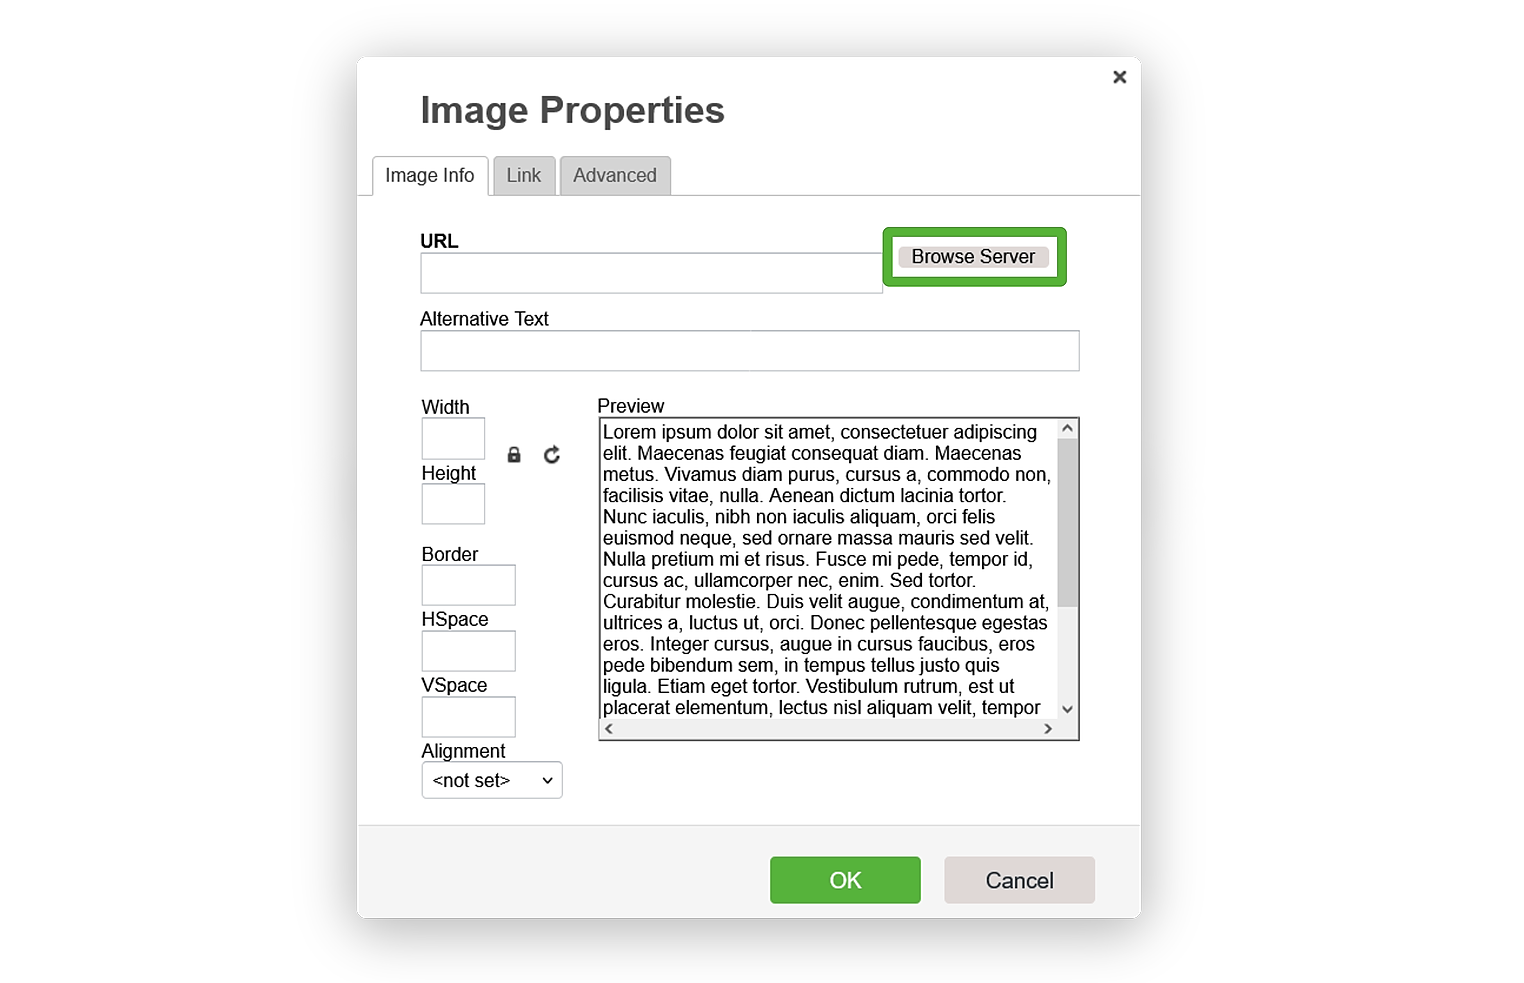
Double-click on the image of your choice; The image should then appear in the body of your email.
That's it - You're ready to send your image via email!