Step-by-Step Activation
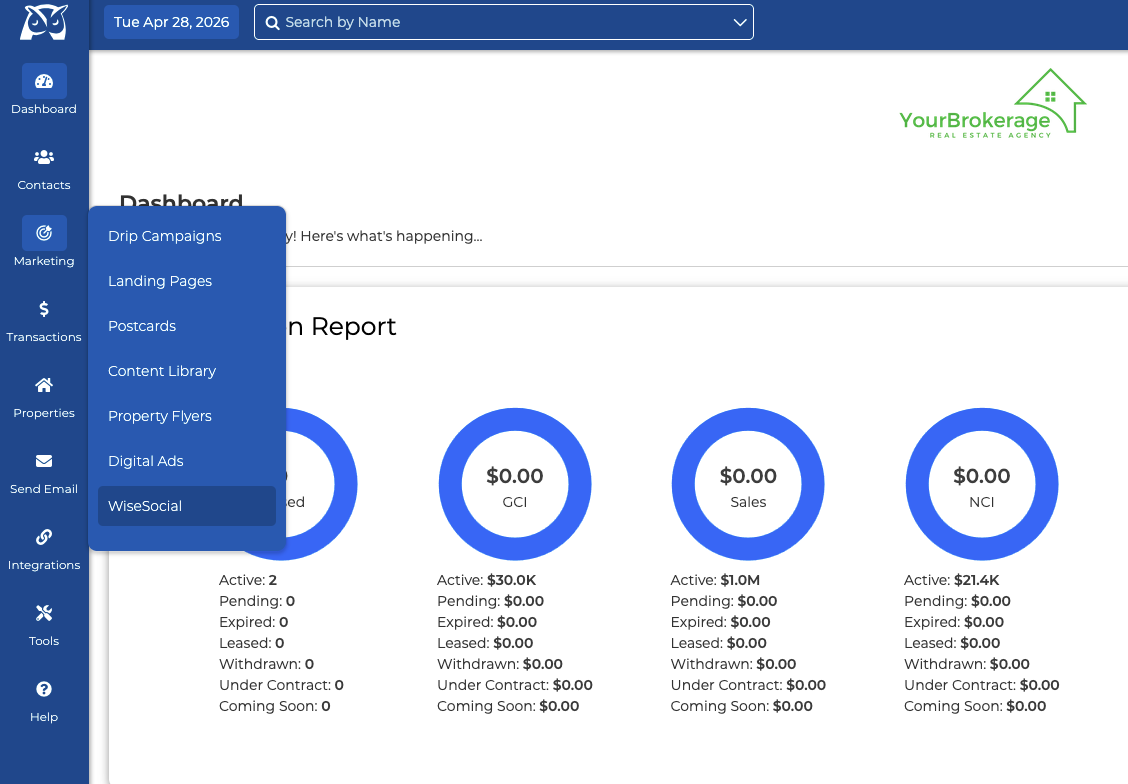
Step 1: Navigate to WiseSocial
Log into your Wise Agent account.
Click "Marketing" in the left-hand navigation bar.
From the Marketing menu, select "WiseSocial."
Step 2: Launch the Setup Wizard
Click "Get Started" on the pop-up modal.
You will see a screen titled "WiseSocial - Your Brand, Everywhere."

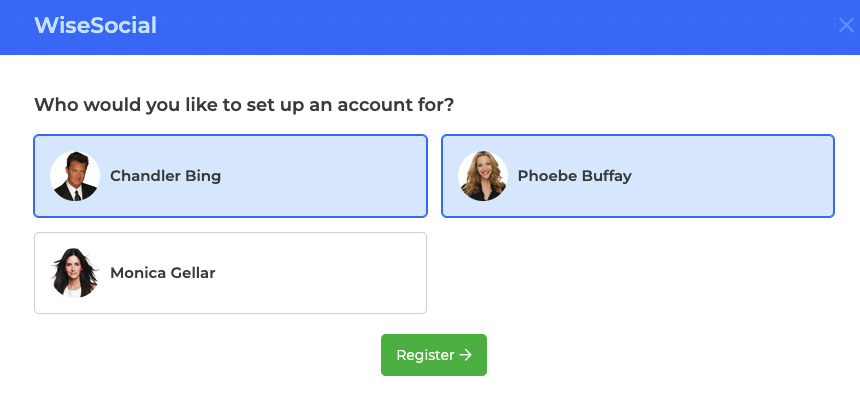
Step 3: Select Team Members
You will be prompted to select which team members you want to create a WiseSocial account for.
Select the appropriate team members from the list.
Click "Register" to submit the account creation request.
The system will validate each profile to confirm all required fields are present.
If a team member has missing profile information, you will be prompted to fix the information from the modal before proceeding with the account activation.
Step 4: Update Billing
After successful validation, you will be redirected to the Wise Agent billing page to update your monthly subscription.
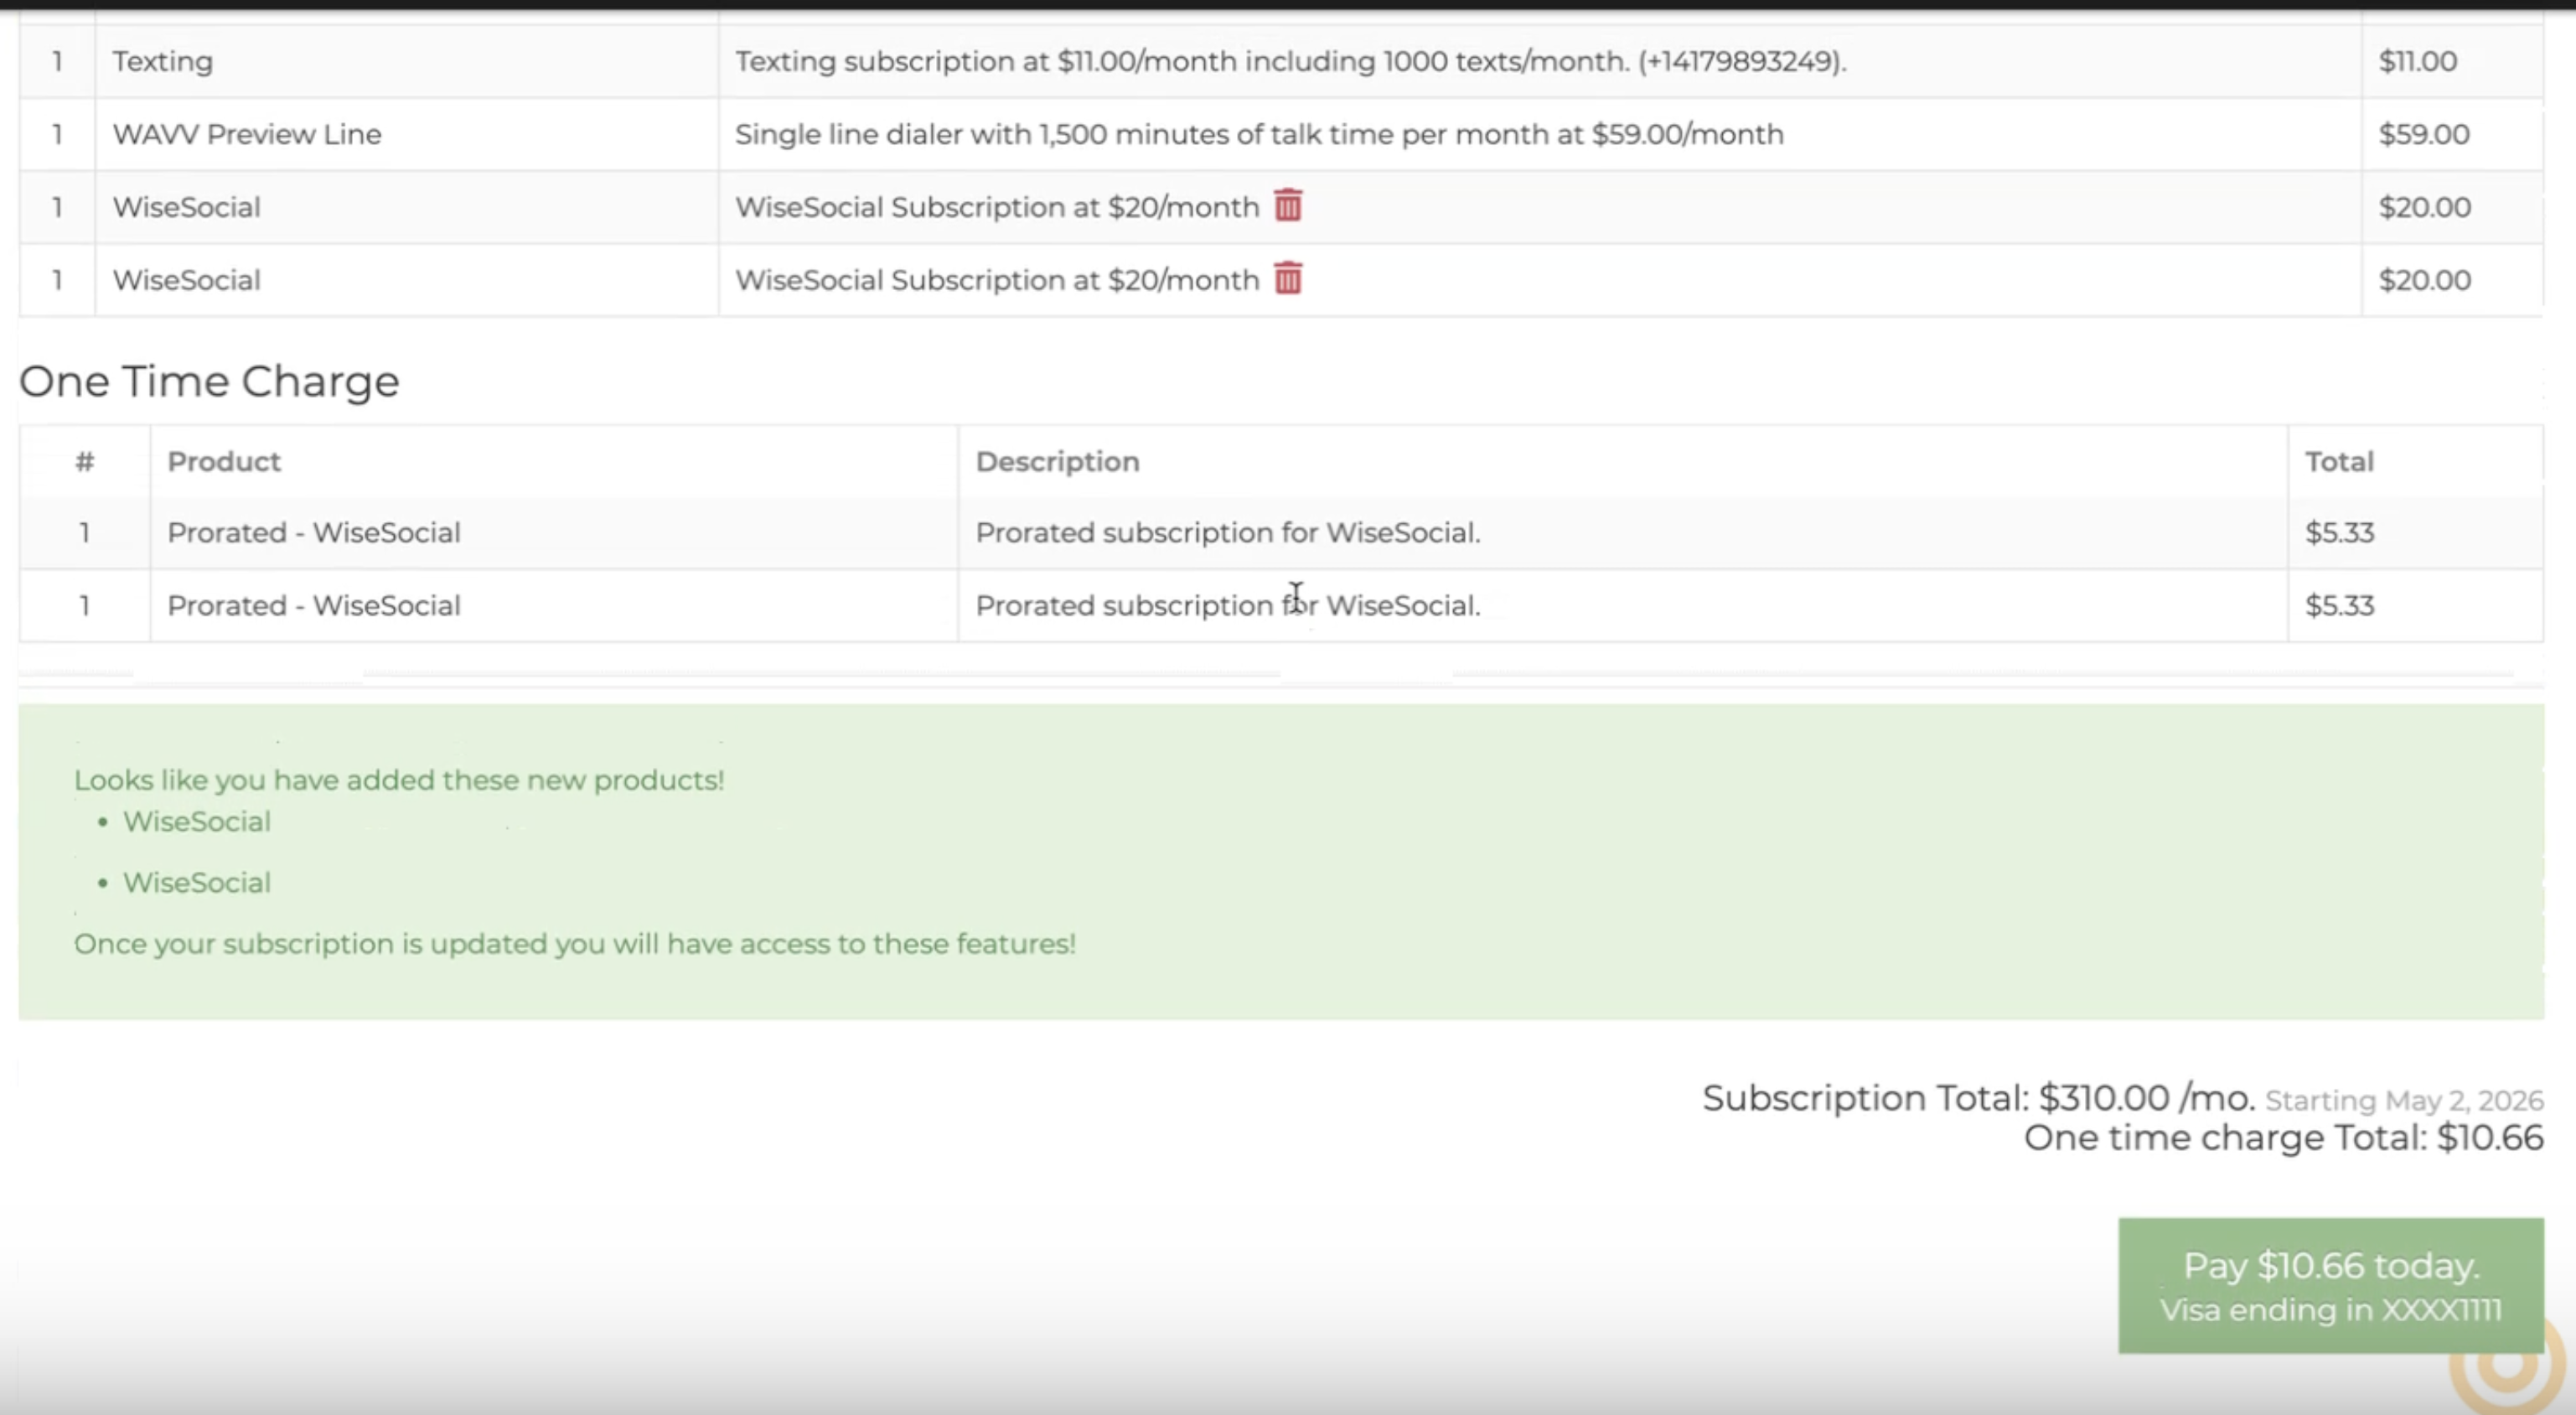
Note: WiseSocial is $20/month per user. A prorated charge is applied on the date of activation.
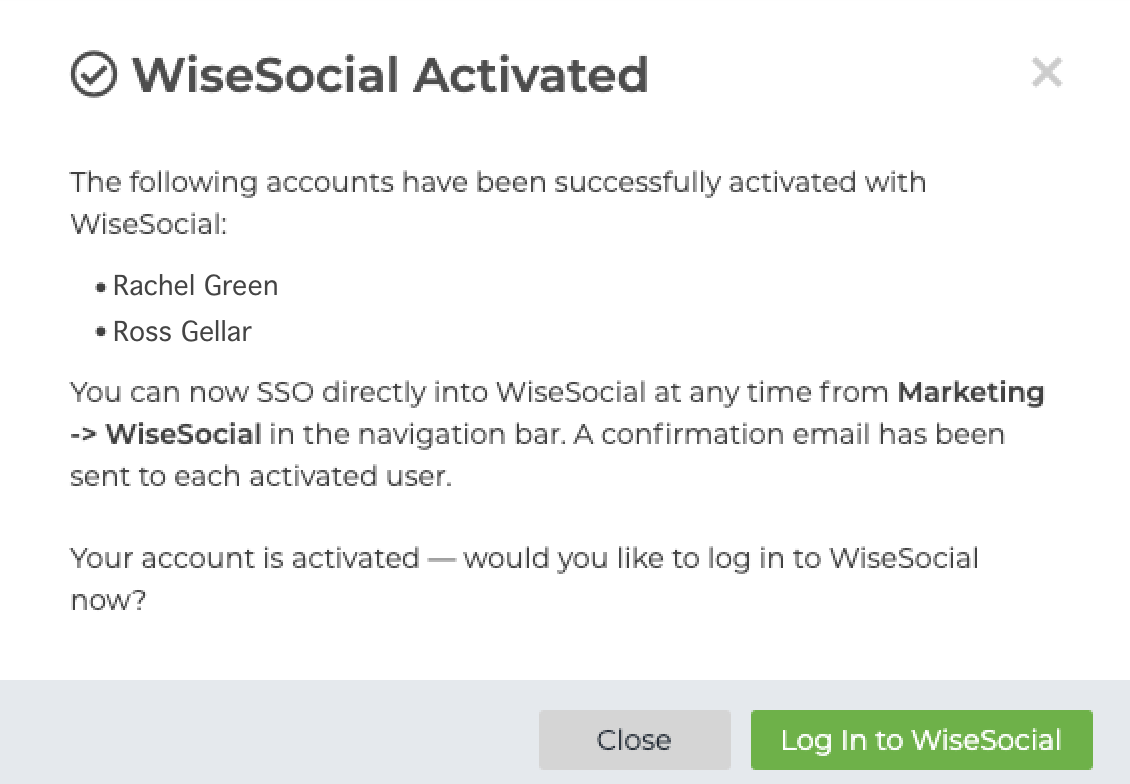
Step 5: Confirmation & SSO Access
Once payment is processed:
Your SSO link into the WiseSocial platform will be activated.
Each registered team member will receive a "Welcome to WiseSocial" email.
That email includes onboarding tips, setup steps, and a direct link to log in via SSO.
Note: Each team member's WiseSocial fee is added to the Wise Agent monthly subscription. Advertising costs are budgeted separately inside the WiseSocial dashboard.
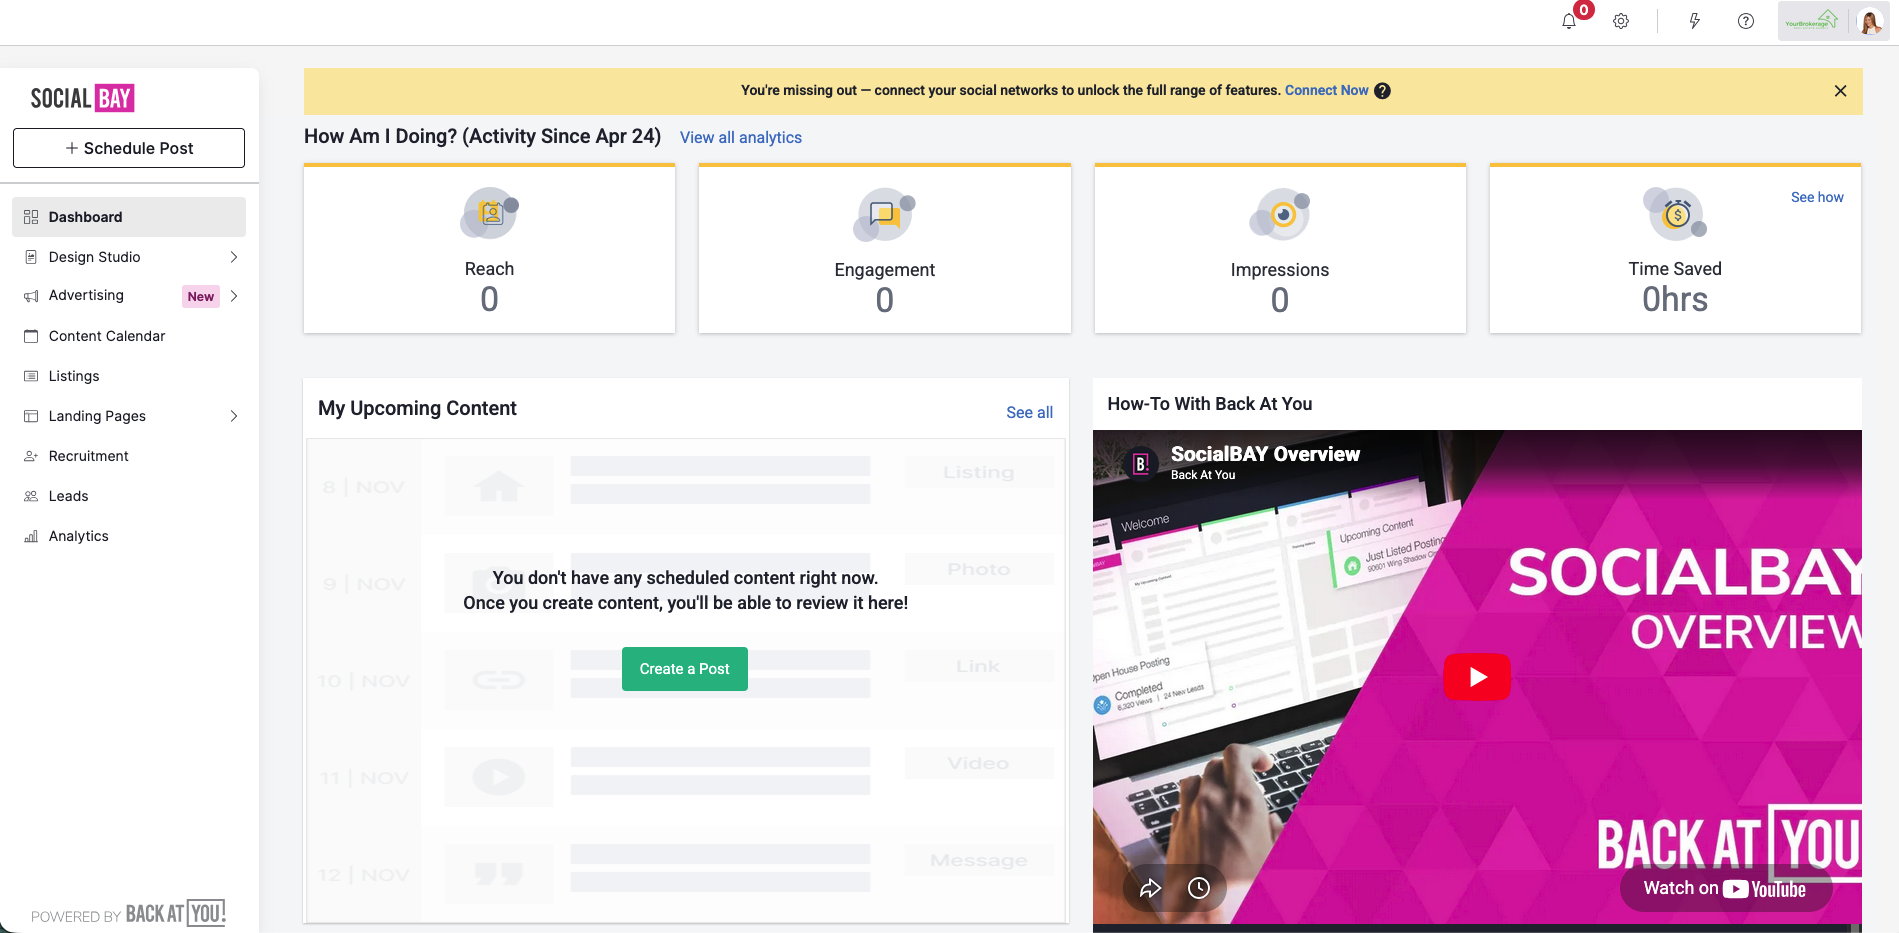
Accessing WiseSocial After Activation
Once activated, you can return to WiseSocial at any time by:
Logging into Wise Agent.
Clicking Marketing > WiseSocial.
Clicking the SSO link to be taken directly into your WiseSocial Powered by Back At You Media dashboard.
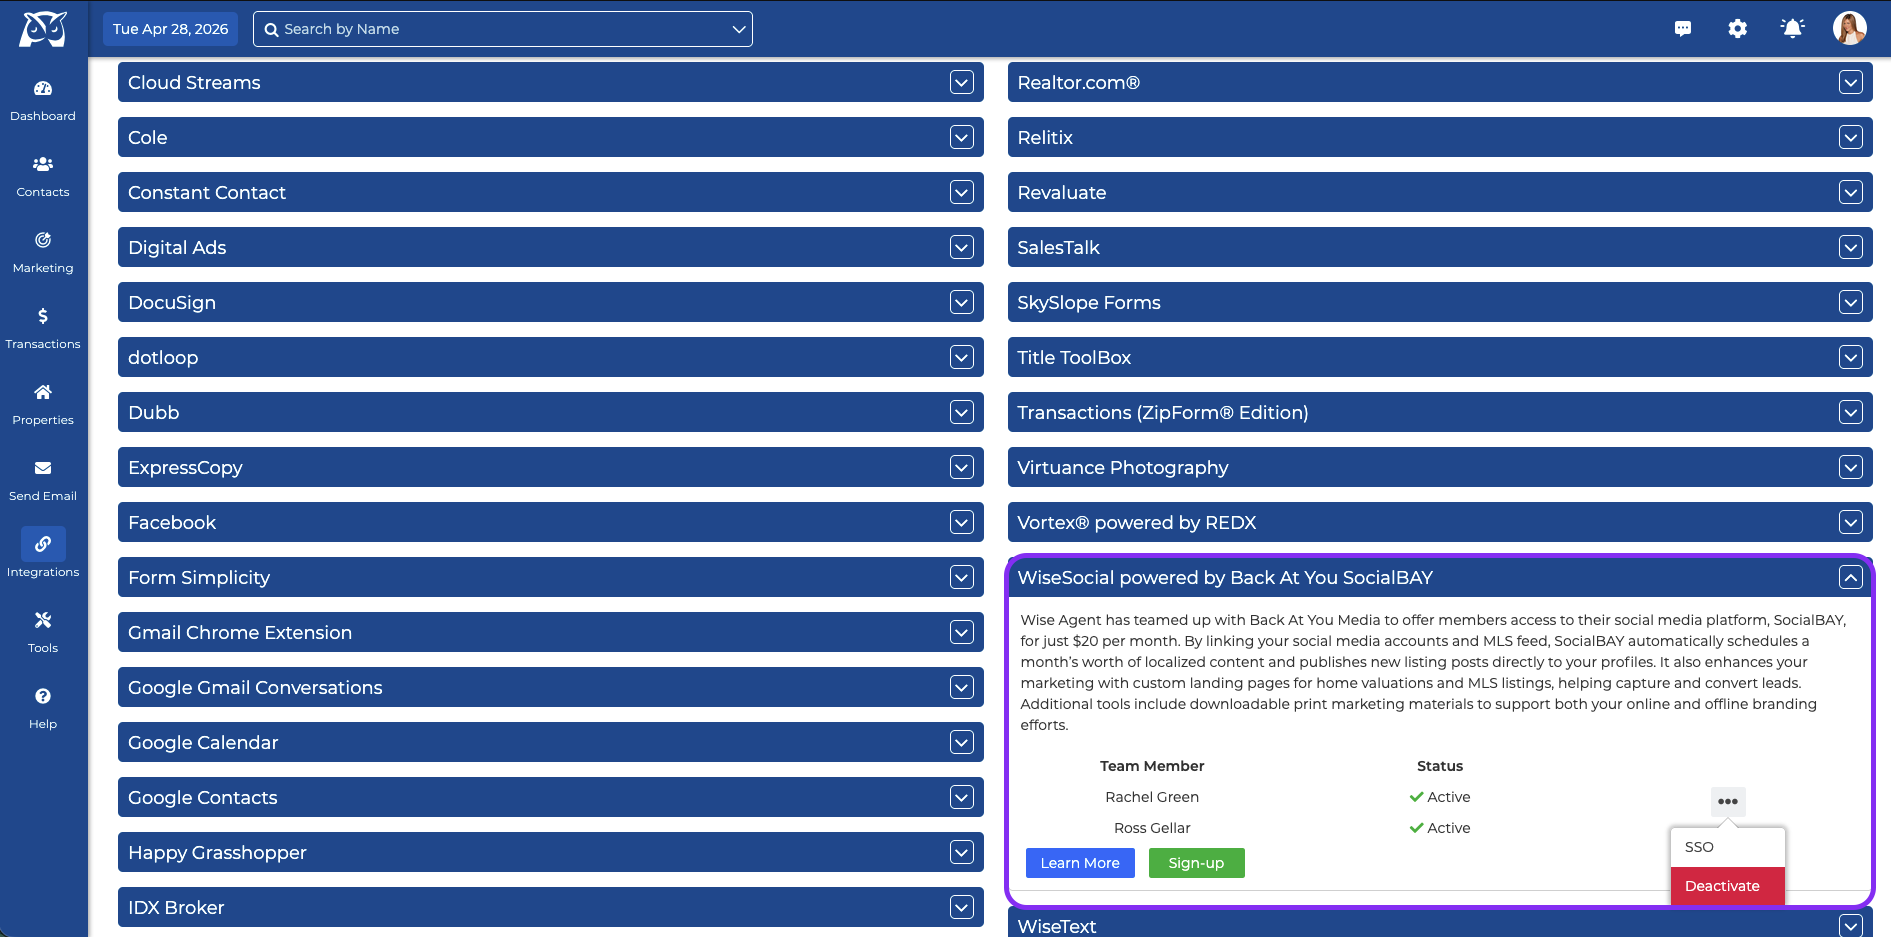
Removing WiseSocial
Log in to your Wise Agent account.
Click "Integrations" in the left-hand navigation bar, then "Settings".
From the Integrations settings page, click on the "WiseSocial powered by Back At You SocialBAY" header then next to the team member's name, click the ellipses icon and click "deactivate."
Repeat step 3 for each team member you wish to remove the feature from.
Next Steps:
Now that you've activated your WiseSocial Account, you're ready to connect your Social Media accounts and select your content settings.