

Compose Emails tab: To send/schedule a new email to your contacts or vendors, follow the steps below:
Click on the "Send Email" on the side navigation bar on the left-hand side of your account.
You will see two options “Drag & Drop Editor” and “Classic Editor”


Or You can start from an existing template


Drag & Drop Editor
Click on the Drag & Drop Editor

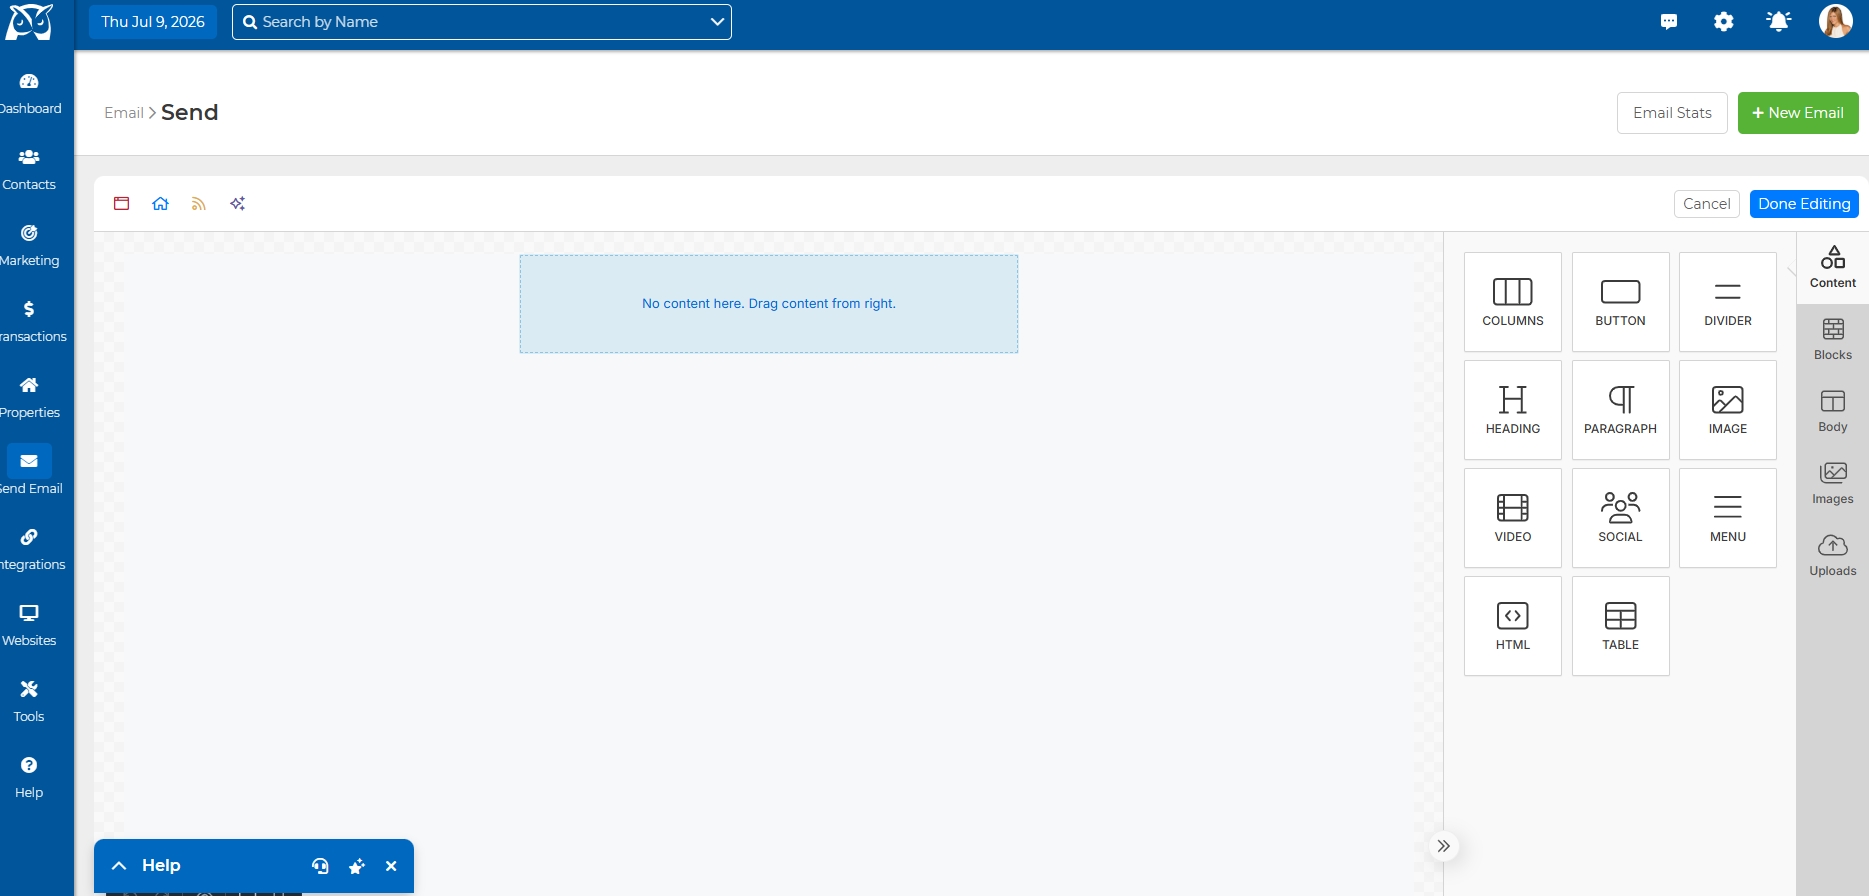
Adding Content
The email editor offers a variety of tools to design your email.
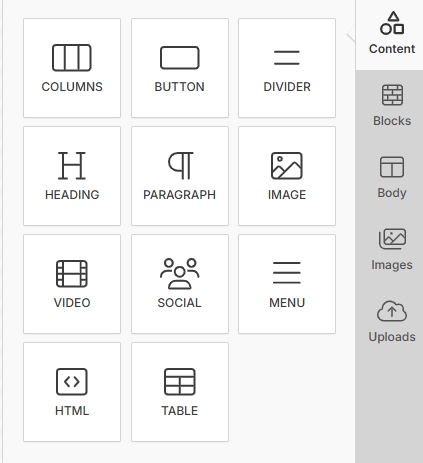
These tools include:
Columns: Add columns to better arrange your content.
Button: Add customizable buttons with options for colors and styles.
Divider: Insert dividers to create space and separation between sections.
Heading: Add headings (from H1-H6) to highlight important sections.
Text: Insert text into your design.
Image: Enhance your email by adding images.
Social: Add social media links to encourage engagement with your brand.
Menu: Create navigation menus within your email.
HTML: Insert custom HTML for advanced customization.
To add any of these elements, simply drag and drop them from the right-side panel onto your email canvas.
3. Adding Blocks
"Blocks" help you structure your email by creating sections that improve readability and design flexibility. Each block can be customized with its own background, borders, and padding, allowing for distinct sections within your email.
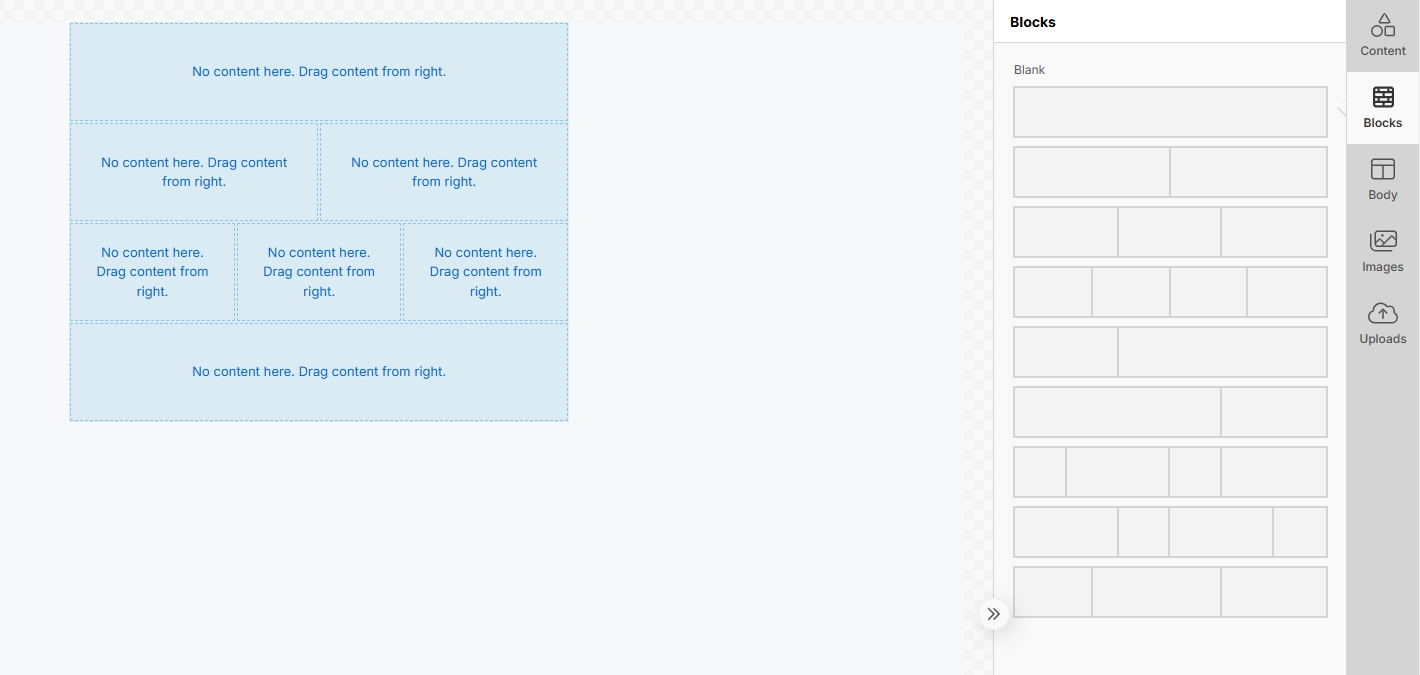
On the right side of the editor, you’ll see the Blocks tab. Drag a block (e.g., two-column, three-column) onto your email canvas to create the desired layout.
Click on a block to adjust its settings, including:
Background Settings: Choose a background color, gradient, or image for the block.
Borders and Padding: Customize the borders and padding to differentiate content sections.
After adding a block, drag elements like text, images, or buttons into the columns from the Content tab on the right-hand side.
Rearranging Blocks: Drag blocks around the canvas to change their position.
Deleting Blocks: To remove a block, click on it and select the trashcan icon.
4. Editing The Body
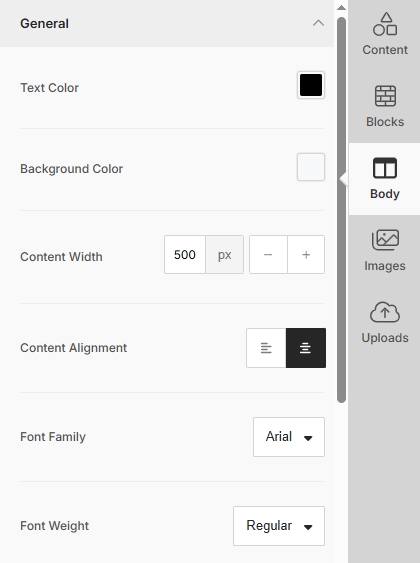
The Body settings allow you to customize your email's overall appearance. Here are some key features you can adjust:
Text Color: Set the default text color to match your brand’s color scheme or to highlight specific information.
Background Color: Choose a background color that complements your text and enhances readability.
Content Width: Adjust the width of your content to ensure it looks great on both desktop and mobile devices.
Content Alignment: Set the alignment (left, center, or right) for your text and images.
Font Family: Choose a font that fits your brand's style. For compatibility, select web-safe fonts.
Font Weight: Modify the weight (e.g., bold or regular) of the font to emphasize important information.
Pre-header Text: This appears in the inbox preview and is a great way to increase open rates. Add a brief and compelling pre-header to complement your subject line.
Link Settings: Customize link colors and decide whether to underline them.
5. Adding Images
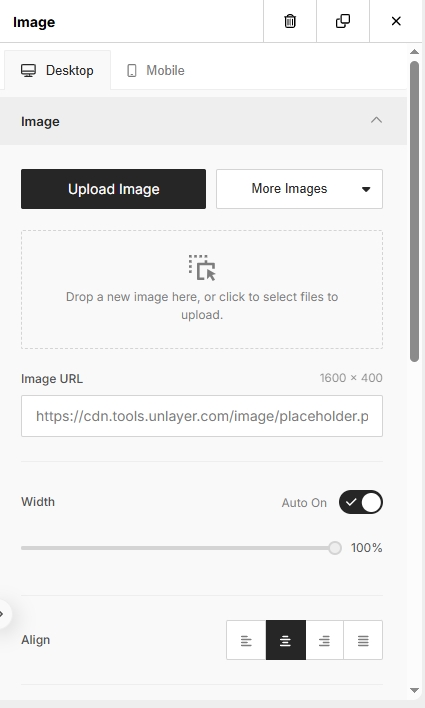
The image tool allows you to easily add and customize images in your email. Here's how:
Search for Images: Browse millions of stock images from sources like Unsplash, Pexels, and Pixabay.
Drag and Drop: After selecting an image, drag it into your email. The editor will automatically adjust it to fit within your design.
Image Customization: Adjust the image’s size, alignment, and position directly from the editor, ensuring it blends seamlessly with your content.
Classic Editor
Click on Classic Editor

You will directed to the Classic Editor page. Here you will be able to draft an email from scratch.
Type your message in the email editor. You can include placeholders, images, Youtube videos, and a Call-To-Action (CTA) button. Additionally, you can copy an HTML code and paste it into the Source button.
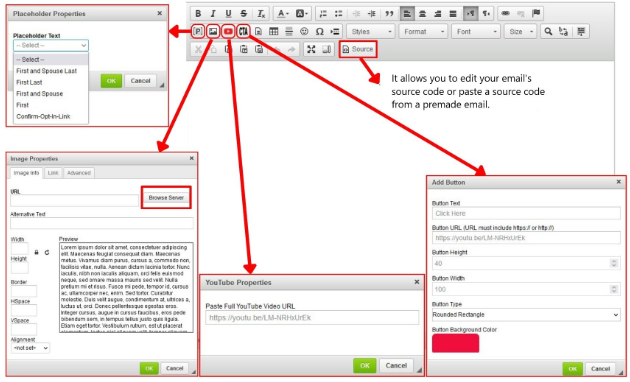
You can also pull in Landing pages, Properties, RSS feeds & have access to our AI Writing Assist Tool.

Landing Pages
For Landing Pages click on the red square icon on the top left hand corner.

A window will pop up and allow you to select from your current landing pages.
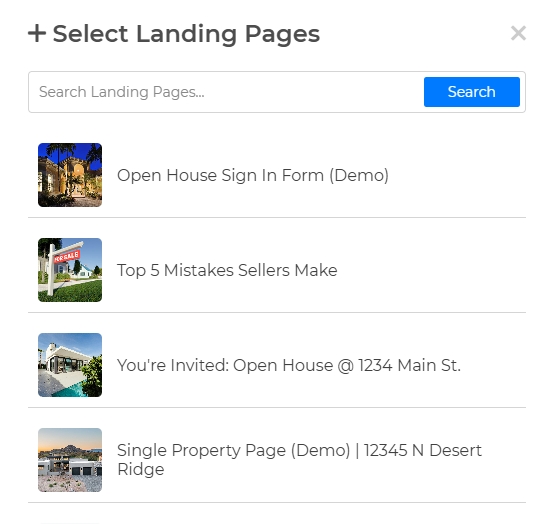
Click on the one you want to insert, and it will populate in the body of the email.
Properties
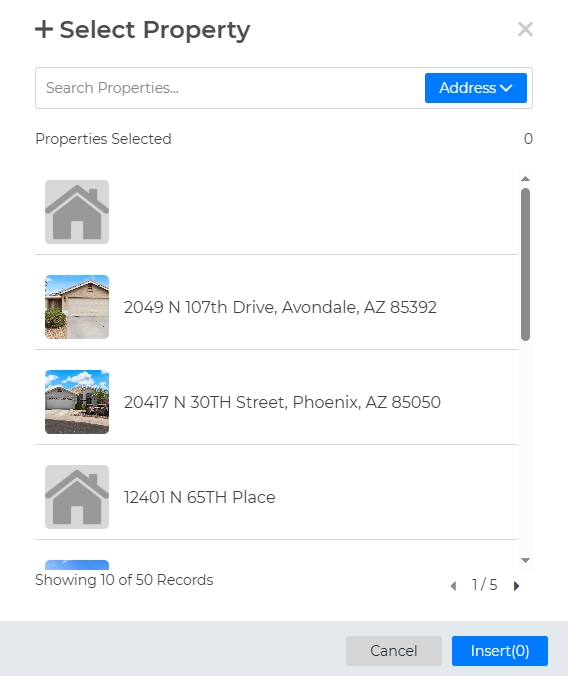
Click on the blue house icon.

A new window will pop up with your properties. Select as many as you would like, and click on "Insert" and they will populate in the body of the email.
RSS Feed
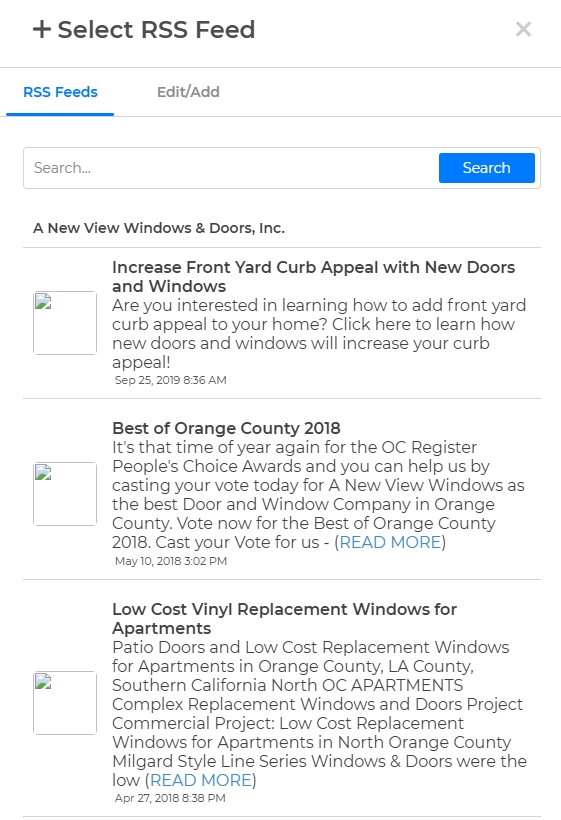
Click on the RSS Feed icon to load up your connected RSS Feeds.

Select which RSS feed you would like, click on it, and it will populate in the body of the email.
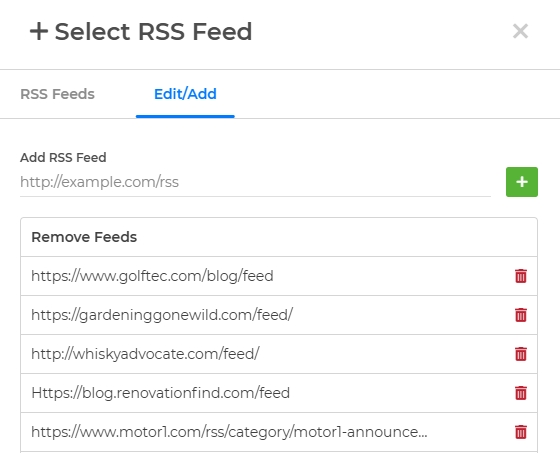
You can also Edit/Add RSS feeds from here.
AI Writing Assistant
Click on the icon with the three stars.

Once clicked, a new window will populate on the left hand side of your page.
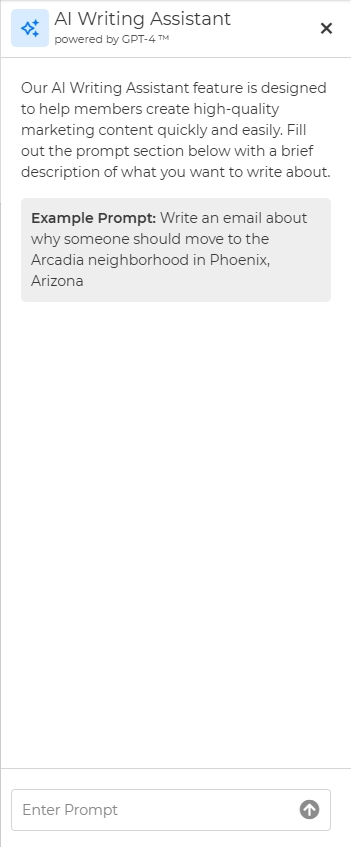
Enter in prompt, when the AI Writing Assistant does it's thing, click on what they created and it will populate in the body of the email. You can edit it and makes it yours from there.
Start from Existing Content
You can start building out and email from your existing content.
Select from what form of existing content you would like to use.


Click on "Stock Content".
Our Stock Content will appear below.
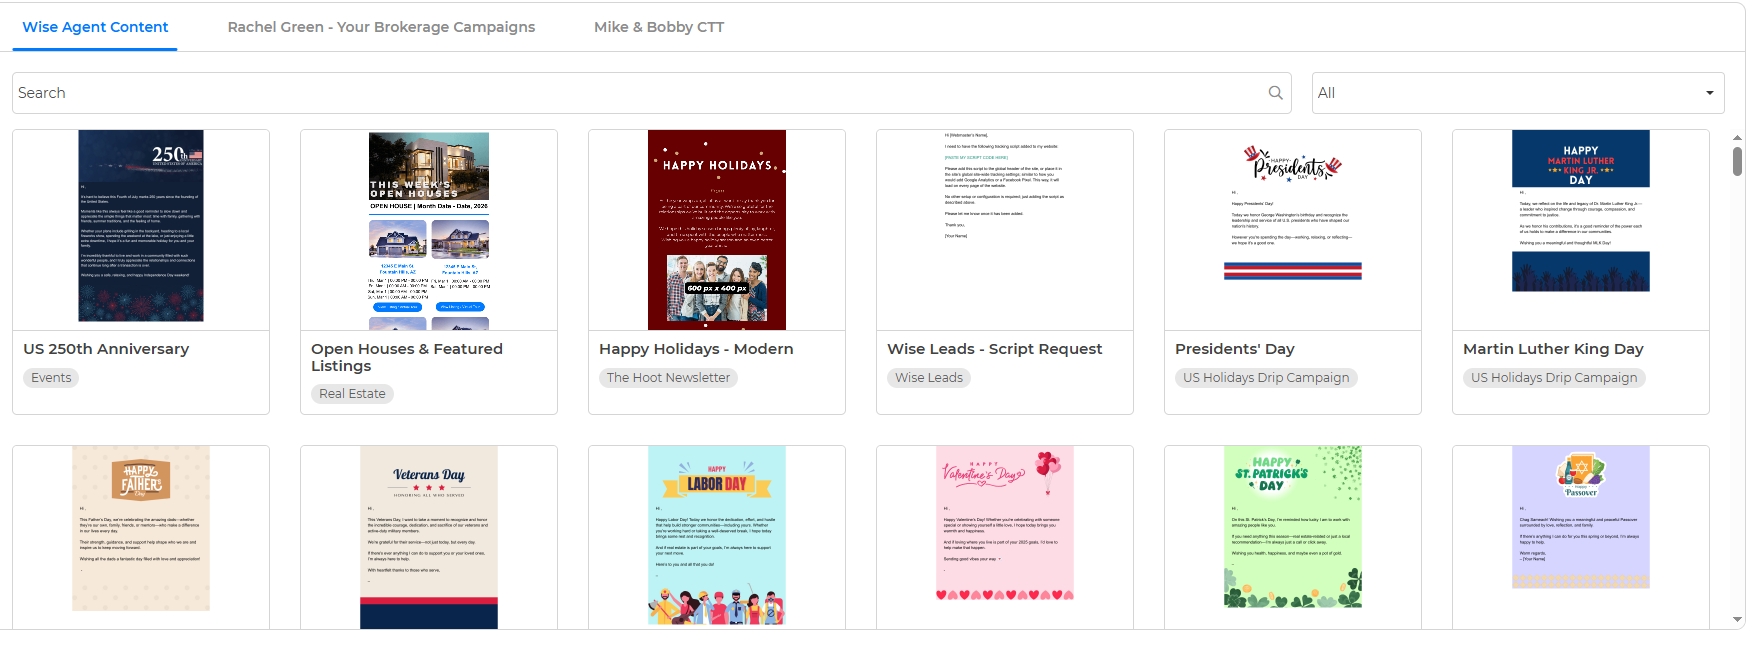
The content you selected will open up in a new window, where you send!
Newsletters
If you would like to use our monthly Newsletter, you can do so on this page as well!
Select Newsletters.

Our Wise Agent Newsletters will appear below.
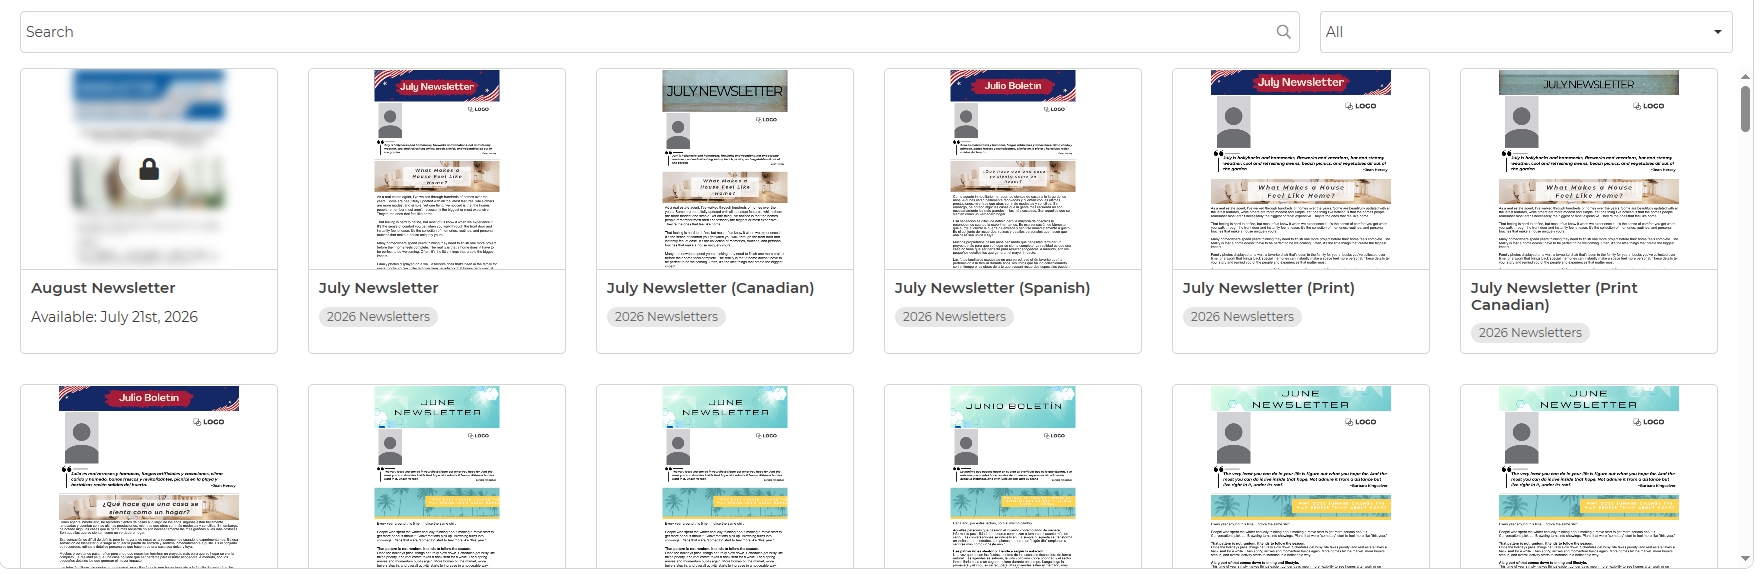
The content you selected will open up in a new window, where you send!
Drafts
In order to find your email drafts, please follow the directions below:
Click on Drafts.

Your saved drafts will appear below!
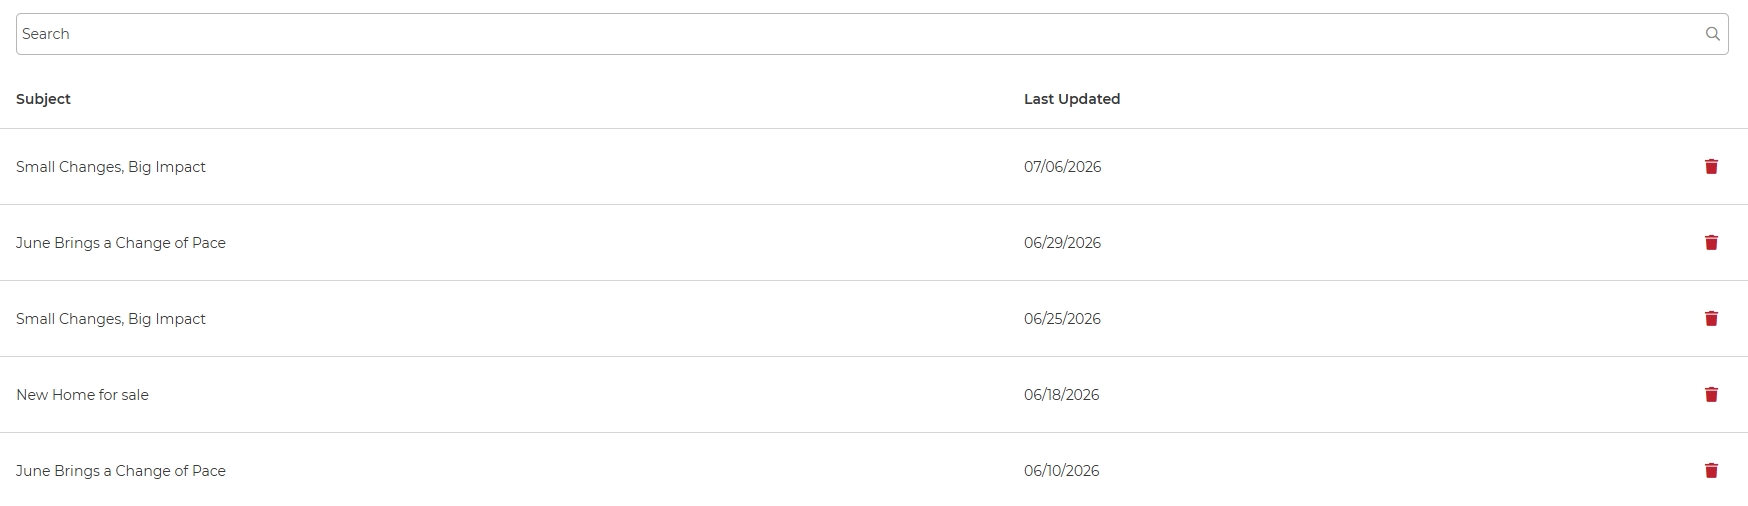
Select from your drafts below and a new window will open for you to send!
There is one more way for you to find your Drafts! When you go to your Send Email page, your most recent drafts appear below. You can also click on "View all drafts" to see all of your drafts.

Last step! Sending out your Email!
To send out your completed email, click on Send/Schedule:

You will be directed to your Contacts/Vendors. You will be use Filters to search for specific contacts in the system, just like you would in your Contact List.

NOTE: Only clients with valid and complete email addresses will appear on this page
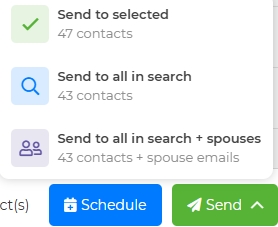
6. Once you have the list of all the contacts you want to send the email to, Click the "Schedule" or "Send" button.
7. If selecting "Send" to send now, you will be able to send to selected, send to all in search, or send to all in search + spouses.
Note: If your have multiple pages of contacts that you want to send to, please make sure to "Send to all in search"
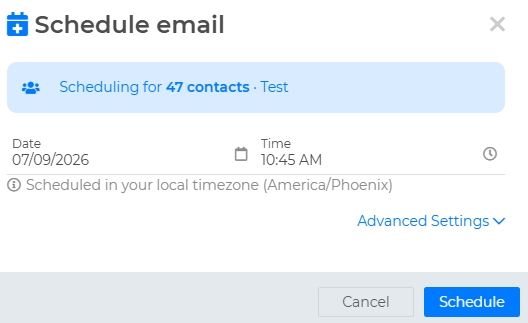
If selecting "Schedule" a window will pop up for you to select a Date and Time for your email to send out. There is also an option for Advanced Settings to send to all contacts in search & Include spouses. If you are wanting to send to "All Contacts in Search". Please make sure you select this.
And that's it!
Please don't hesitate to reach out to our customer service if you are need of additional help!