Let's do it together!
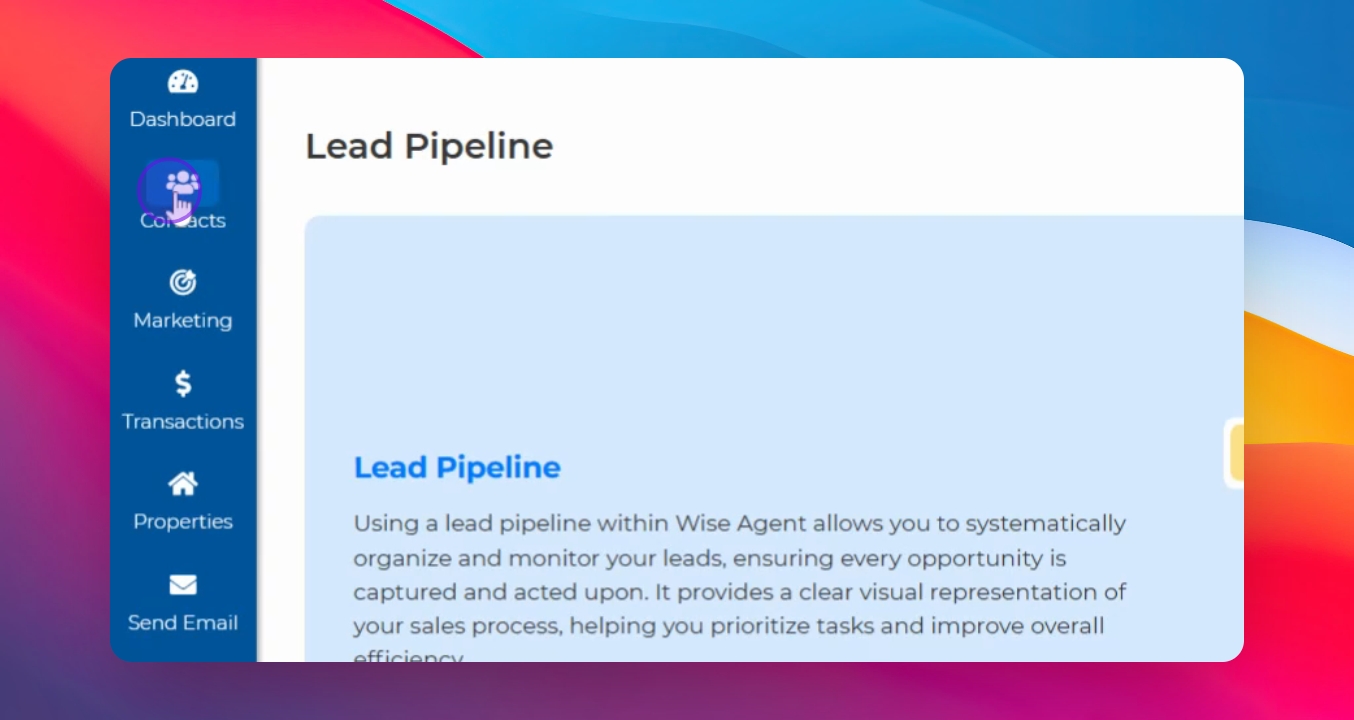
Step 1: Access Lead Pipeline
Go to Contacts and click on Lead Pipeline to access your lead pipeline.
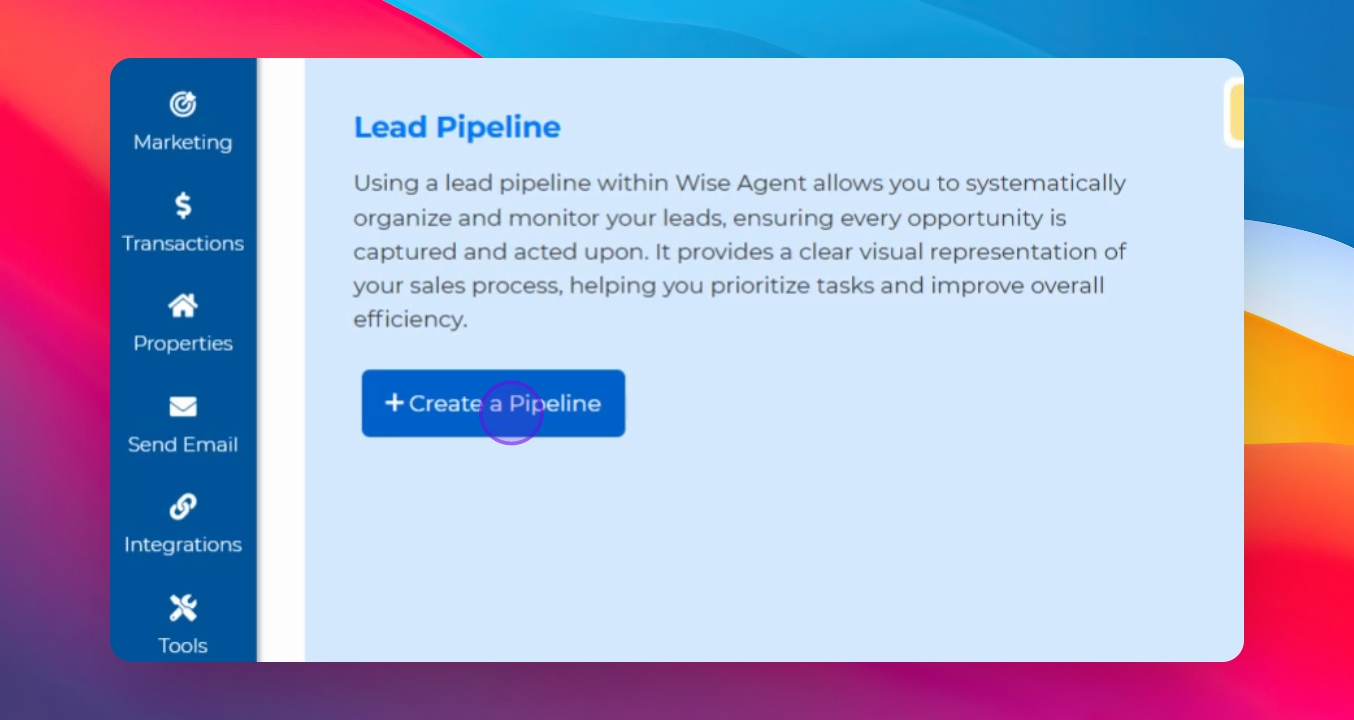
Step 2: Create First Pipeline
Click the button to create your first pipeline. A graphic representation of the lead pipeline flow will be displayed.
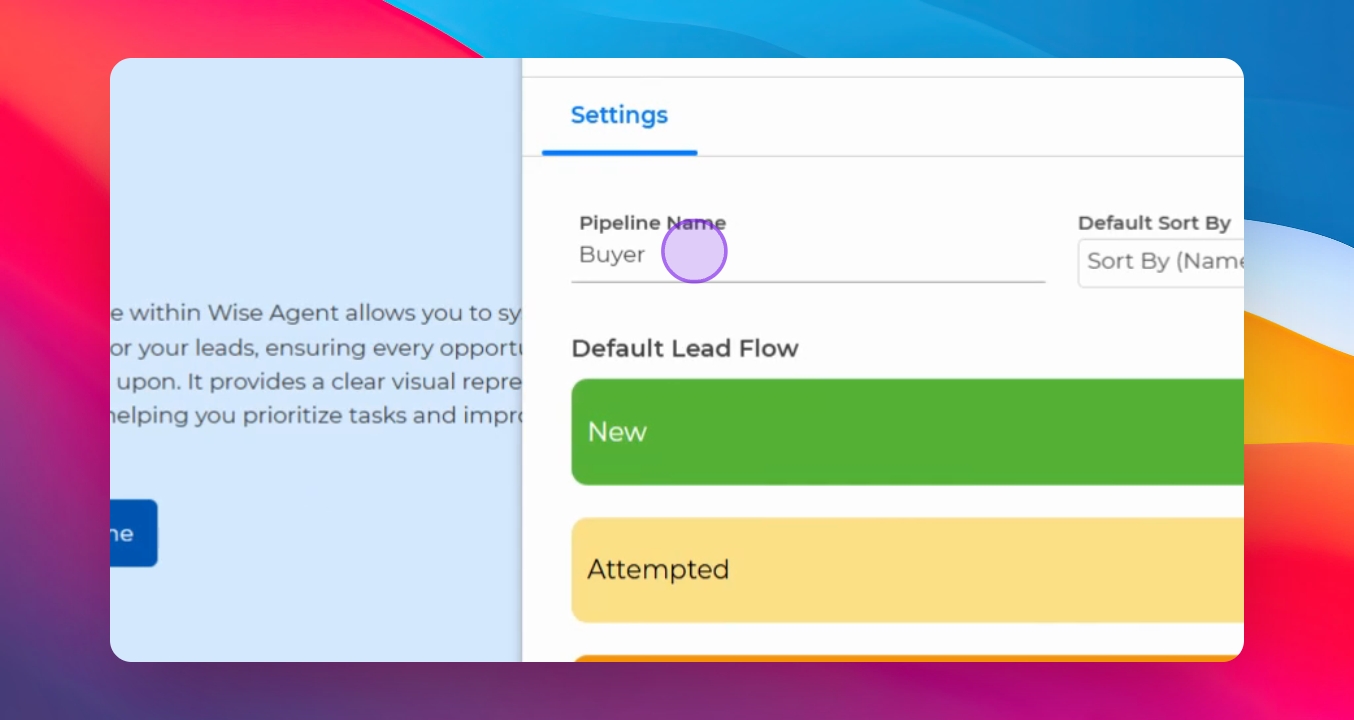
Step 3: Modify Pipeline Settings
A pop-out will appear allowing you to change the pipeline name and select statuses that match your lead flow.
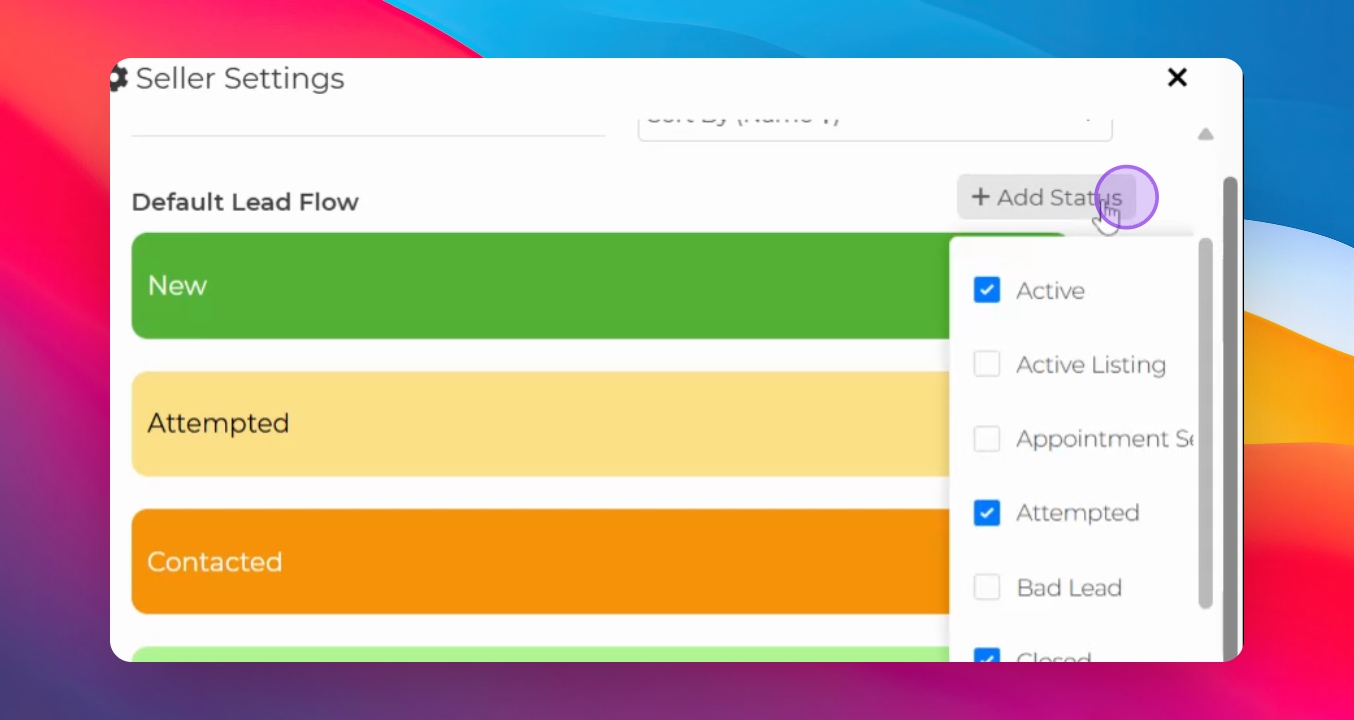
Step 4: Adjust Statuses
Click on Add Status to add or remove statuses that fit your workflow.
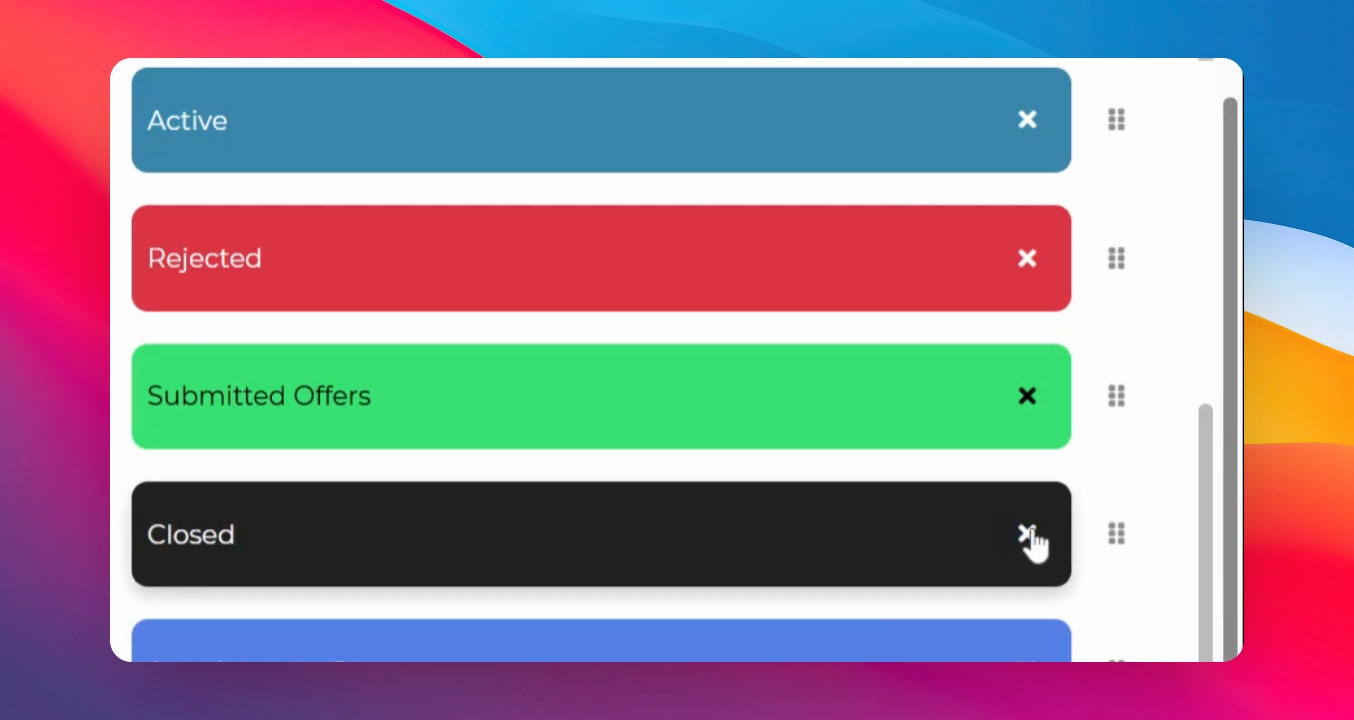
Step 5: Remove Statuses
Alternatively, you may remove a status by clicking on the X next to it.
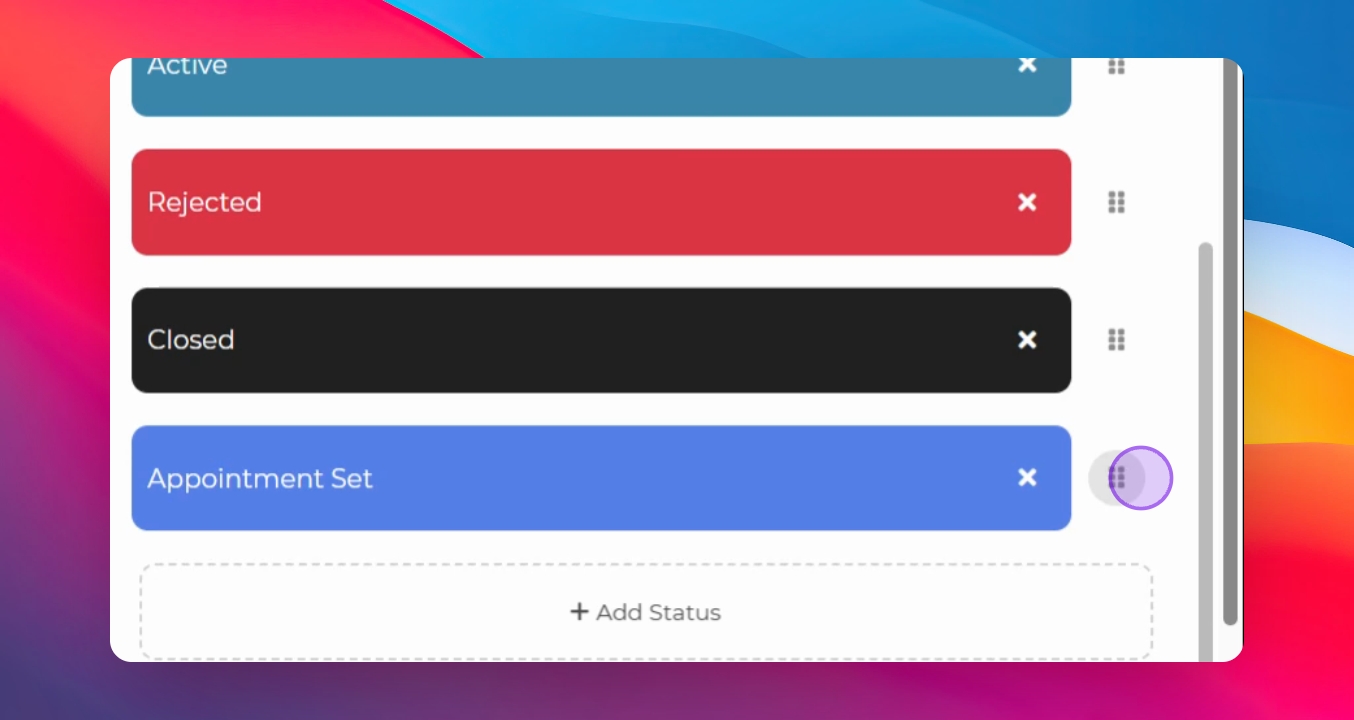
Step 6: Change Status Order
Drag the statuses by the dots to rearrange them according to your workflow.
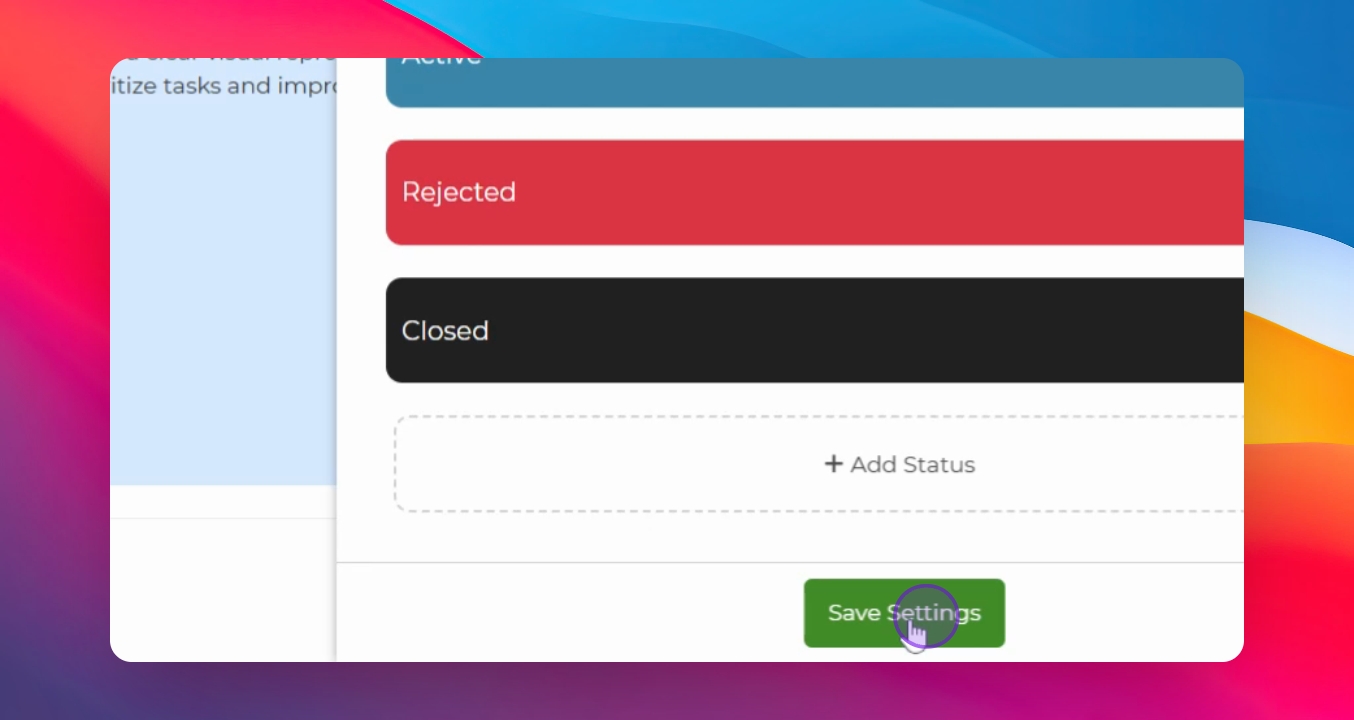
Step 7: Save Pipeline
Click Save Settings to finalize your pipeline configuration.
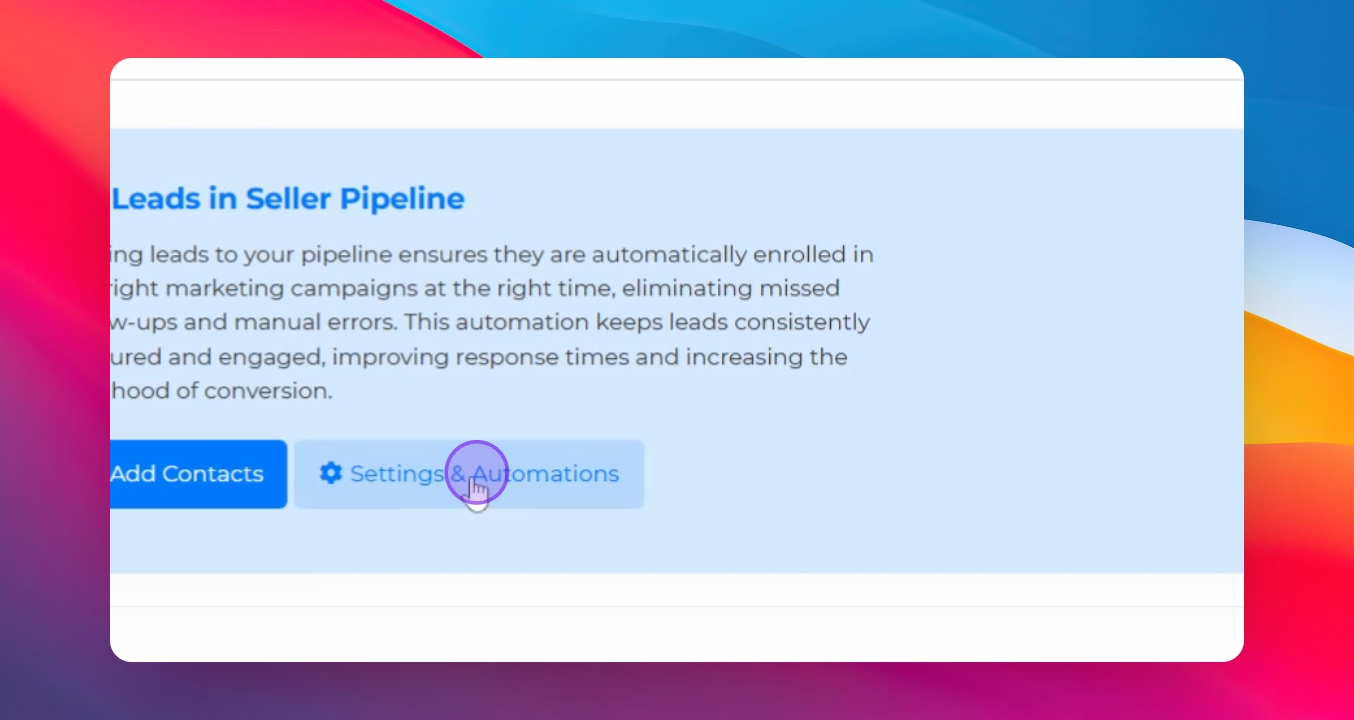
Step 8: Set Up Automations
Click on Settings and then Automations to configure automations and alerts.
Step 9: Create Team Alerts
Set a team alert to notify team members by email or text when leads go unclaimed.
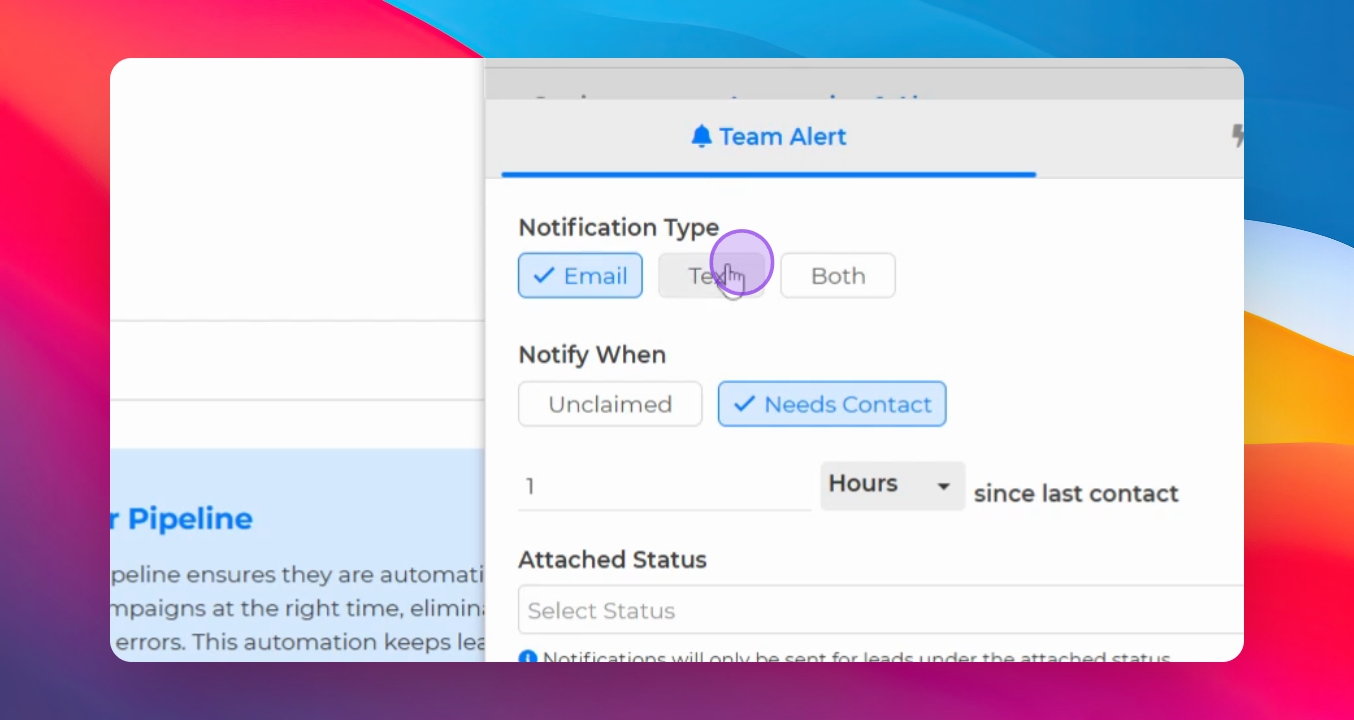
Step 10: Save Team Alerts
After selecting alert options, click Save to set the team alerts.

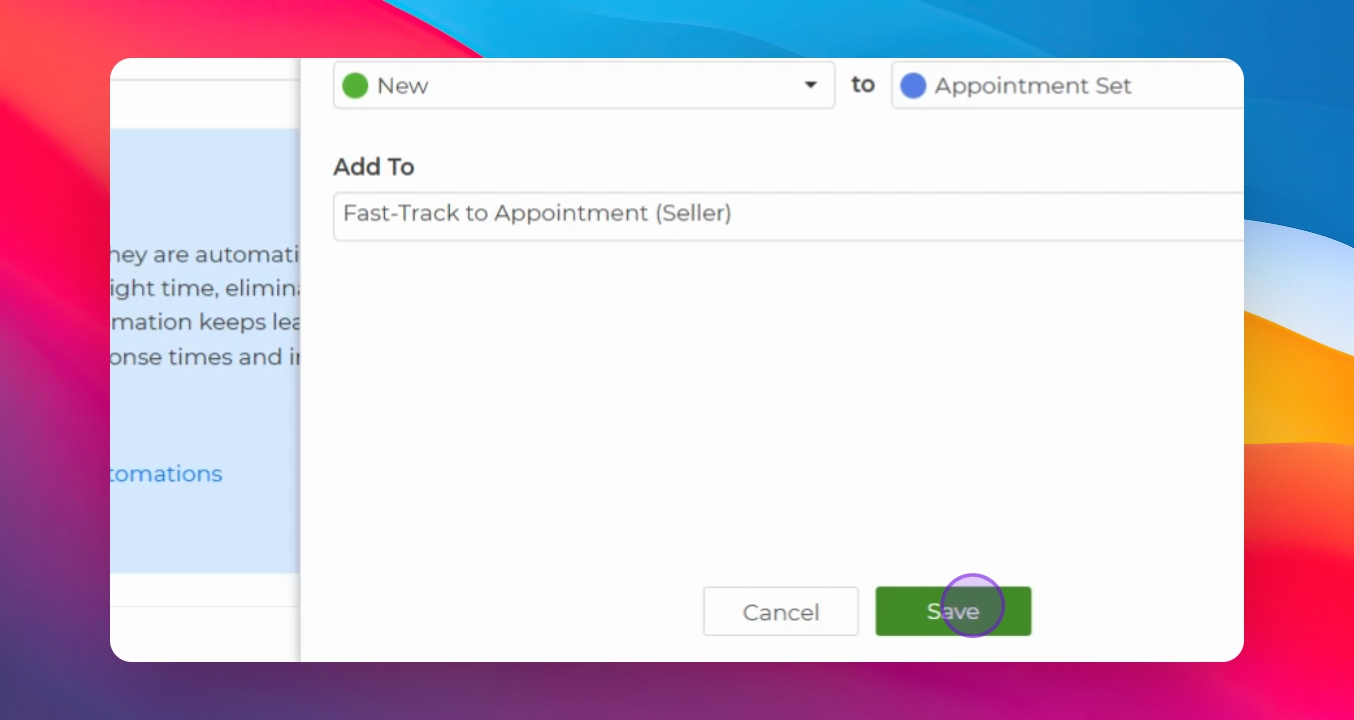
Step 11: Assign Drip Campaign
Add a drip campaign when a prospect changes status from new to appointment set.

Step 12: Save Drip Campaign
Click Save after selecting the drip campaign to confirm your choice.
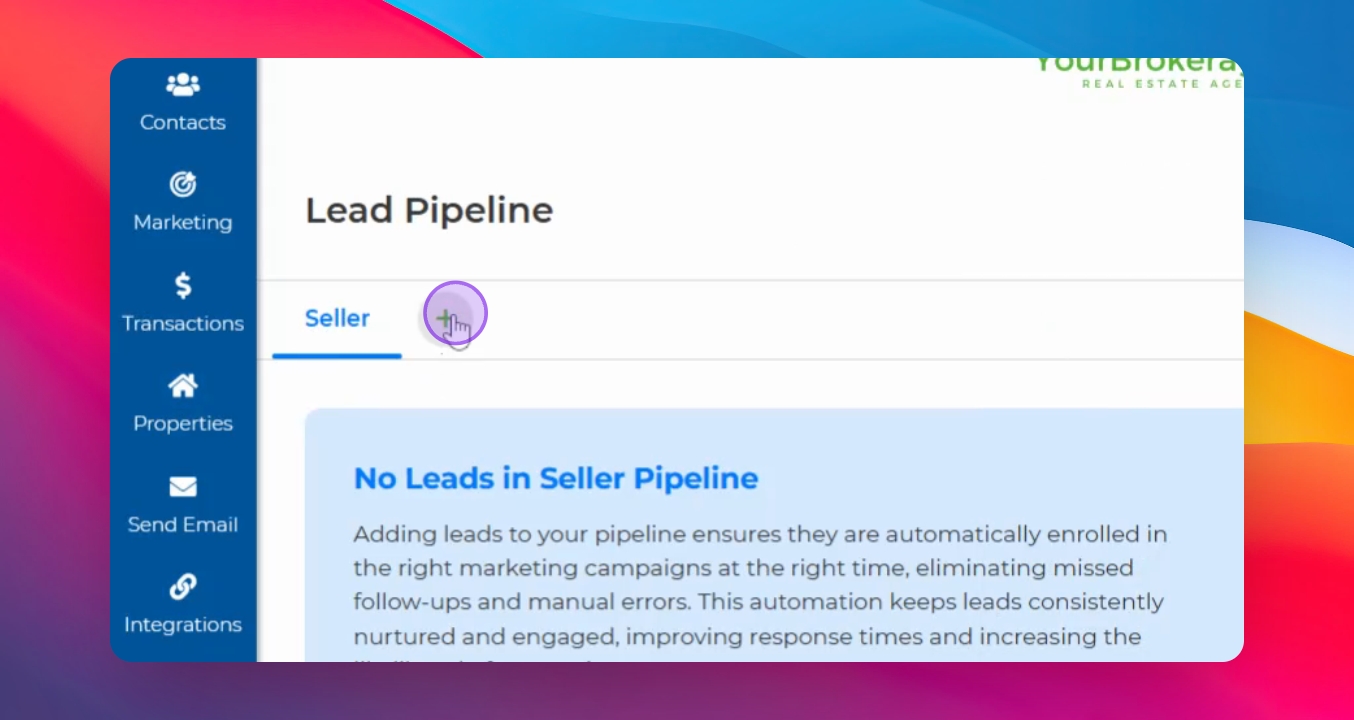
Step 13: Create New Pipeline
To create another pipeline, click the green plus sign and start the process again.